How one camps can vary drastically from person to person. Depending on your comfort level and experience, it can look like a luxurious glamping trip or a rugged bare-bones adventure — both of which are valid and fun! The great thing about camping is that it can truly be whatever experience you want it to be. Besides, who doesn’t love a good camping hack to make their trip a little easier?
From campsite selection to personal hygiene tips, this list has everything you need to level up your camping game.
Where and When to Camp
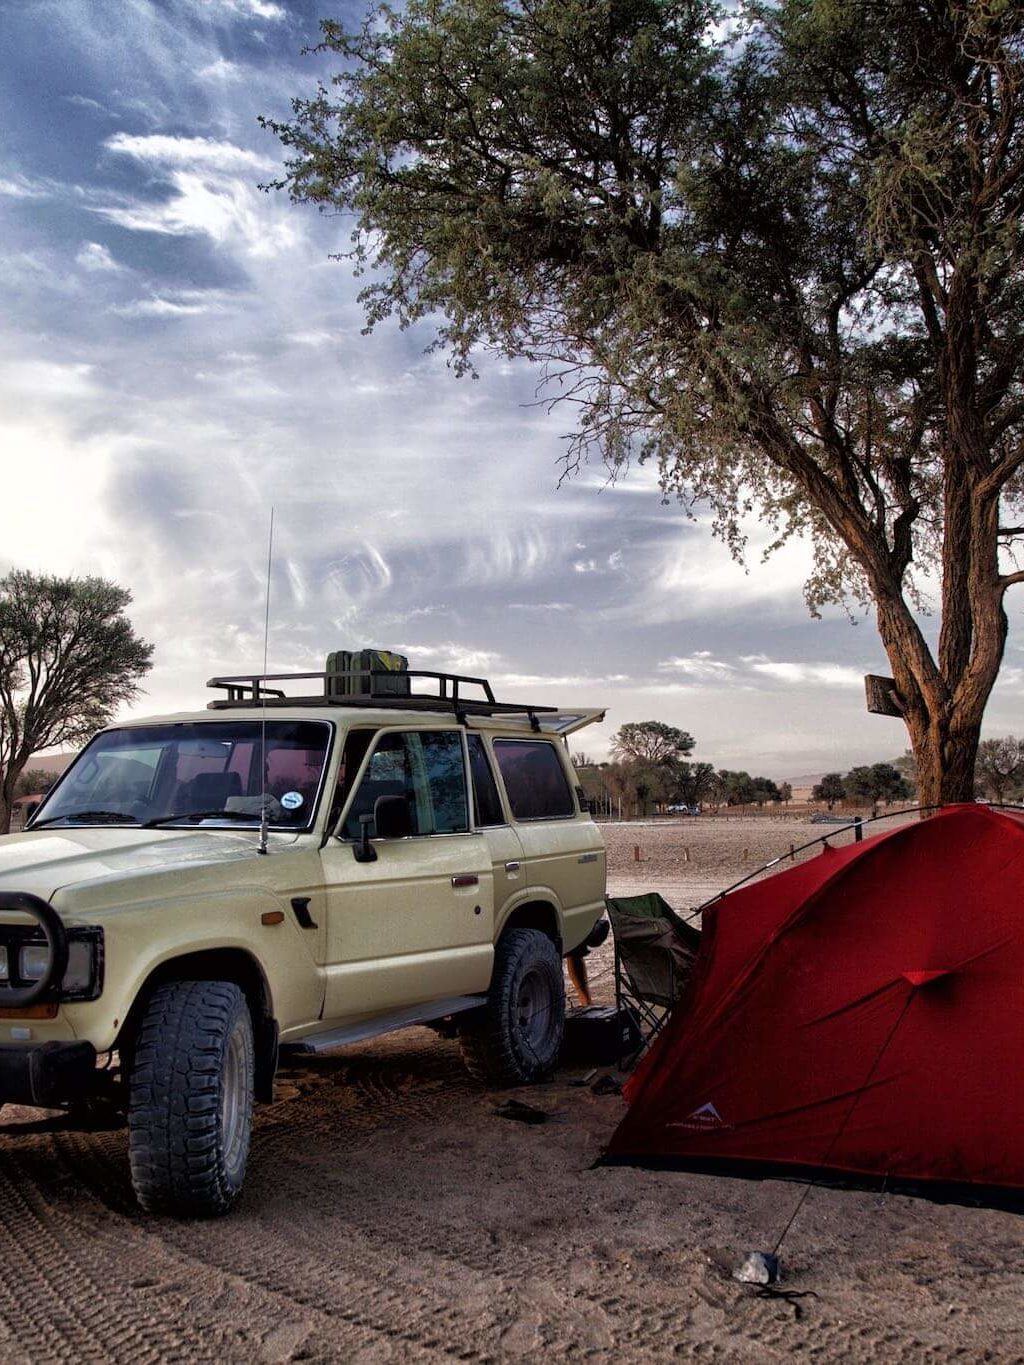
60. Choose your campsite wisely.
Every campsite has something different to offer. Some are best suited for families and are likely to have kiddos running around at all hours. Some have extensive amenities, full-service restaurants, and pools. Have a think about the kind of camping experience you would like to have and choose a campsite that fits what you’re looking for.
59. Read up on campsite rules before you go.
It’s important to be clear on what a campsite’s rules are before you choose one. Some don’t allow dogs, or have strict no-noise policies after a certain hour. If you’re solo camping, a no-noise policy might be nice, because you know you’ll have some peace and quiet. If you’re with friends, however, it might feel restrictive to know that you won’t be able to stay up chatting and playing music as late as you’d like to. These rules can make a campsite totally ideal, or it can signal that it isn’t right for you.
58. Keep other campers in mind.
Choosing the perfect campsite for you also entails considering what kinds of campers will likely be there. Not only should you consider the amount of noise that others will make, but also the amount of noise that you will be making. If you’re with friends and want to feel free to play music and chat without disturbing others, either choose a spot where other campers will be doing the same, or pick one further away from other people.
57. Your weather app is your friend.
Choosing when to camp means being in touch with what kind of weather to expect. Check your weather app religiously the weeks prior to your trip to get an idea of what the conditions are like in the area where you’re planning to camp. Obviously, it can change at any moment, but this will help you get a general idea of how the weather has been there.
56. High season or low season?
If you are thinking of camping during high season, make sure you plan ahead. Book your spot in advance whenever possible. In case you can’t, consider arriving during a weekday instead of a weekend in order to secure your spot from among a better selection of options.
Master Chef, Camping Edition
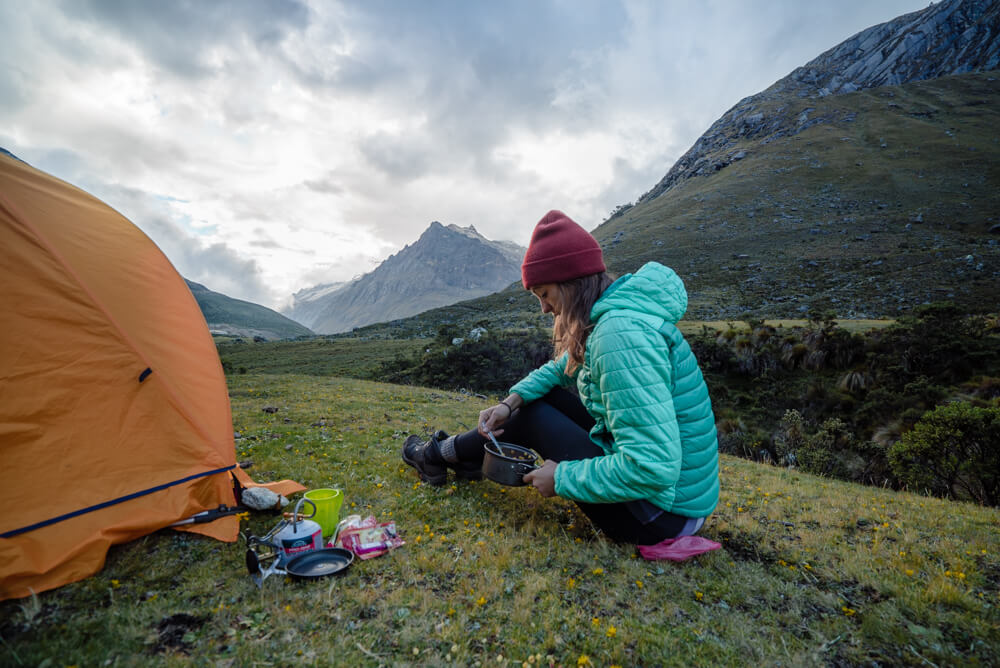
55. Make a list of the cooking materials you need.
It’s helpful to take a look at the materials you plan to bring with you prior to planning your meals, and then adjust your meals according to what you’ll have to cook with. Also, if you can, try to use the same pans, utensils, etc. for every meal. Do you really need a wok, or can you just use the same frying pan you used to make eggs?
54. Meal-prep like a boss.
Just like you might do at home, plan ahead for what you’re going to cook and when. Masking tape is useful for making labels to designate which meal packs or ingredients to use on which days, and for which meal. Go one step further and arrange your main ingredients or meal packs in order of when you plan to use them.
53. Chop, dice, and slice ahead of time.
Anything you can prep ahead of time, do it. You’d be surprised how much easier cooking becomes when you already have those onions chopped or those mushrooms sliced. Especially if you’re going to freeze everything anyway, prepping saves a lot of time and hassle while camping.
52. Consider investing in a good-quality cooler.
Having a decent cooler can often be the difference between impressive meals you actually want to eat or making do with whatever you can scrounge together. A nice one means being able to keep fruits and vegetables fresher longer and even being able to bring along premade frozen meals. That delicious curry you made at home that you couldn’t possibly imagine cooking up on a stove? Freeze it and pop it in your good-quality cooler. Which brings me to…
51. Freeze foods and drinks ahead of time.
If you have a decent cooler, you can prepare plenty of delicious meals ahead of time, freeze them a few days before you leave, and put them in the cooler right before you depart. I like to do this with smoothies as well, for a quick, filling meal. These frozen packs will also help maintain a low temperature in the cooler.
50. Spray your oil.
Instead of lugging a huge bottle of cooking oil or using an icky aerosol can, consider bringing an oil spray dispenser. It works just as well as cans of cooking spray, and you’ll end up using far less oil than if you were to bring a whole bottle. Amazon has a lot of lightweight options.
49. Take a collapsible water jug.
This will be a lifesaver if you’re camping somewhere sunny and hot. These collapsible water containers fold flat to save space while you’re traveling, and then can be filled once you get to your campsite. This one holds 2.6 gallons!
48. Don’t rely on fire to cook.
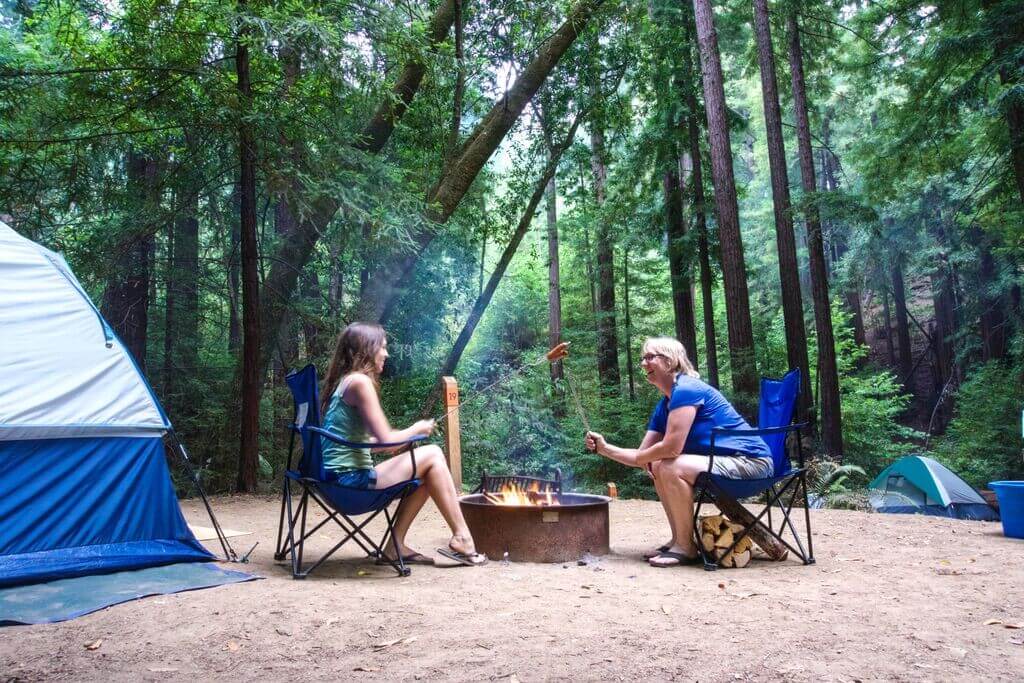
Imagine that it rains your entire camping trip — but you thought you’d be grilling your spring veggies on an open fire all weekend. Avoid disappointment by making sure you have a backup in case cooking on an open fire isn’t an option. Bring a camping stove and fuel, so you’ll have a means to cook regardless of the weather.
47. Bring extra cooking fuel.
You should always bring more butane fuel than you think you’ll need. Not every campsite has a place where you can buy it, especially if you’re somewhere more remote.
46. Keep a stash of condiment packets.
If you tell me you don’t have a bunch of ketchup, mustard, and barbecue packets in your fridge, I won’t believe you. If you honestly don’t have a stash of these, consider picking some up the next time you go to a fast food joint. They can come in handy while camping, because honestly, who wants to bring bottles of condiments with them? We can’t all be like Beyoncé with a hot sauce in our bag, swag.
45. Have plenty of containers on hand.
Make sure to bring plenty of lightweight containers to store unused bits of produce, spice packets, or anything else that you want to keep out of reach of pests. If you’re trying to pack as light as possible, consider bringing some reusable silicone bags, which do the trick just as well as plastic containers.
44. Bring freeze-dried everything.
Whoever invented freeze-drying is honestly my favorite person on the planet. If you’re reading this… I love you! All silliness aside, though, bring your fruits in freeze-dried form and it’ll change your life. This form of preservation makes all your favorite snacks so easy to pack and super lightweight, too!
Don’t feel like cooking at all? Here’s a definitive ranking of the best backpacking meals you can bring along to your camping trip.
Get Your Best Snooze
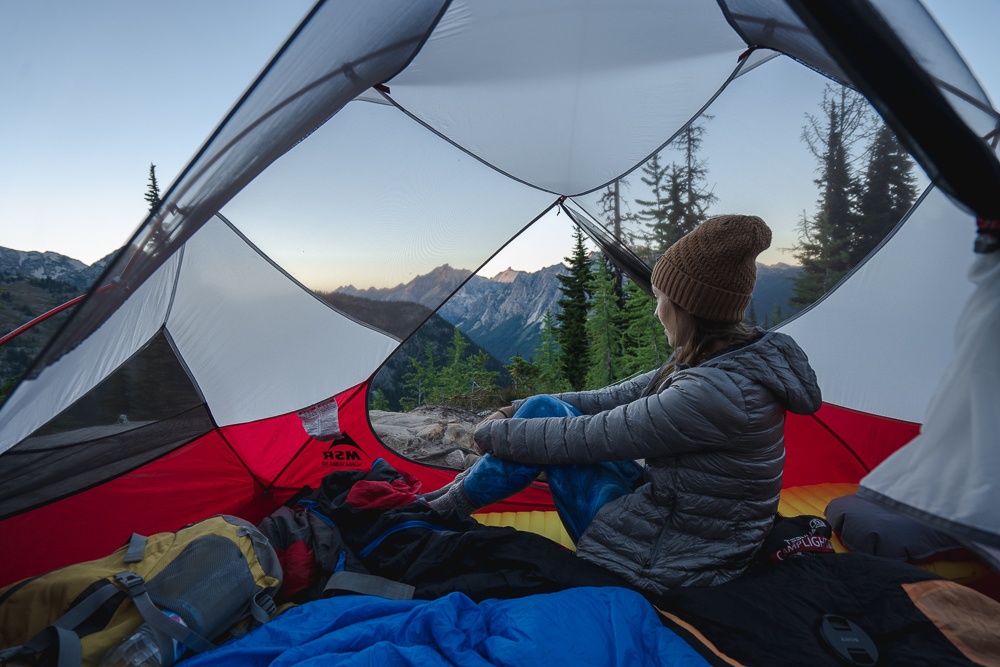
43. Don’t skimp on a good sleeping bag.
There are some corners you can cut with camping hacks. Buying a great-quality sleeping bag just isn’t one of them. If you’re going to splurge on anything, make it your sleeping bag. If you can get one that is labeled three seasons, that’s your best bet for all types of weather.
42. Pack more blankets than you think you’ll need.
Having extra blankets can be the difference between a good and a great night’s sleep. Let’s be honest; if you’re going to be hiking and adventuring all day, you want to be well rested. Even if it’s warm, your extra blankets will serve as some extra cushioning. If the temperature drops at night more than you expected, you’ll be able to keep warm.
41. A little cushion goes a long way.
Whatever you do, do not sleep directly on the floor of your tent. Always bring either a foam pad, a thick yoga mat, or a couple layers of blankets to separate your body from the ground. The surface of the earth gets progressively colder at night, so you’ll want your sleeping area well insulated. It’s also much more comfortable.
40. Insulate your air mattress.
The above point extends to air mattresses as well, which is essentially a big block of air. If it’s directly on the floor of your tent, the chill from the ground will radiate into the air in the mattress and make the entire thing much colder than it should be. To avoid this, simply throw a blanket on the floor of your tent before blowing up the mattress.
39. Consider a hot water bottle in the colder months.
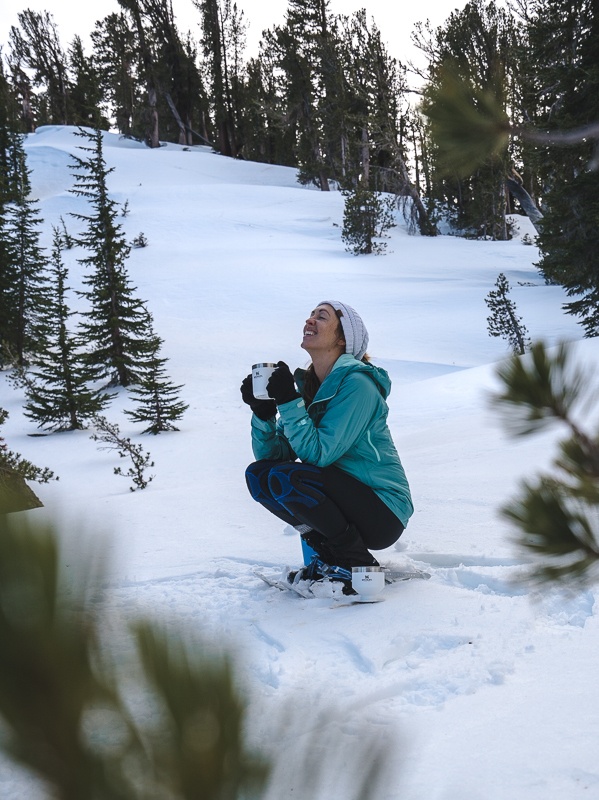
When temps drop at night, it can be difficult to stay warm enough to get a good night’s sleep. A hot water bottle filled with near-boiling water stays warm all night long, however. I like to wrap mine in a blanket and put it inside my sleeping bag near my feet to keep them warm.
-READ MORE-
38. Buy a headlamp.
Having a headlamp has saved me from nighttime bathroom fiascos many times. The last thing you want while you’re rolling out of bed crusty-eyed in the middle of the night to pee is to drop your phone or flashlight, leaving you stranded in the dark. Headlamps are the best way to venture out for a nighttime whizz safely and securely.
37. …and use it for everything.
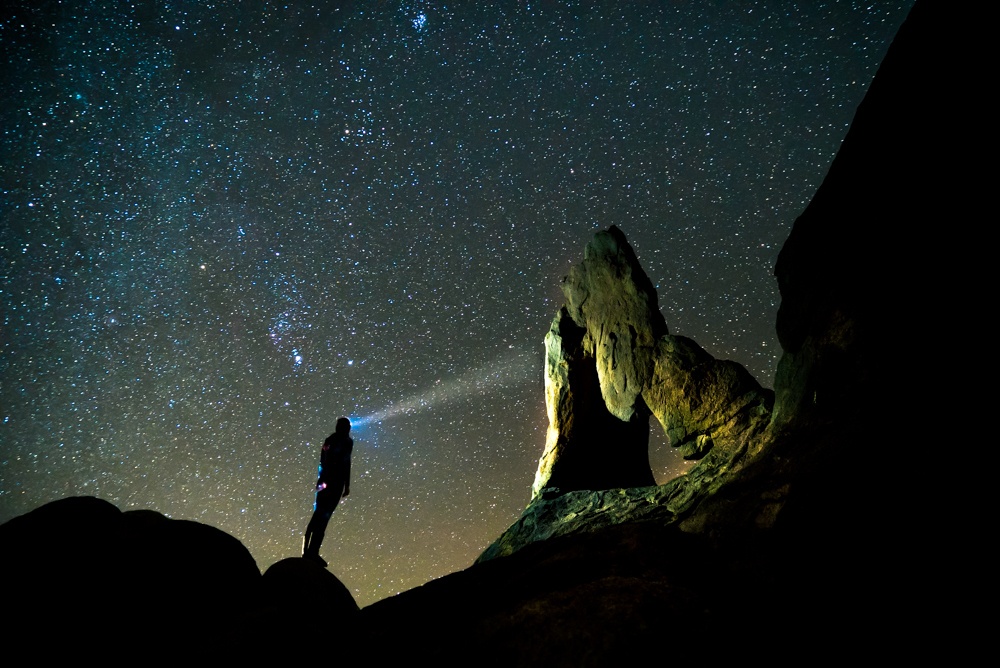
Okay, we get it. She likes her headlamp. Another genius way to use one is as a lantern for nighttime cooking or other activities. Attach the head strap to the roof of your tent or wherever you can point it in the direction it needs to go.
36. Diversify your lighting.
One of my favorite ways to wind down, whether I’m camping or at home, is to read before bed. The light from a headlamp or flashlight can be harsh, so I suggest bringing along some battery- or solar-powered string lights. You can hang them from the roof of your tent or pop them in a jar to produce some softer light to help you relax before going to sleep.
Your Tent, Your Rules
35. Choose the right tent for you.
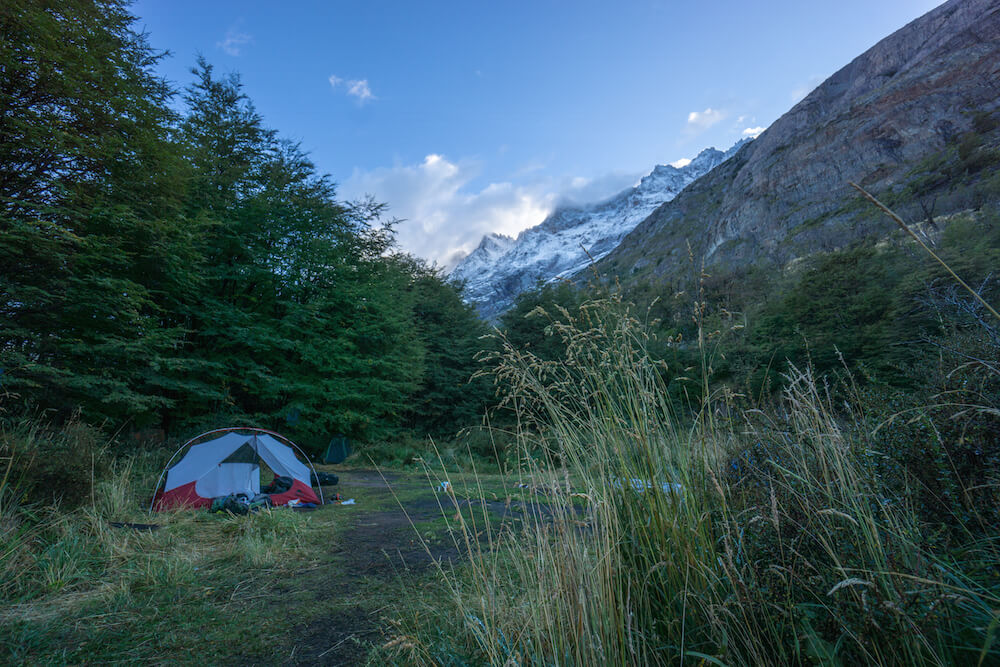
It might be tempting to choose the tiniest, cheapest tent you can find. Every camping trip is different, and a small tent might be great if you’re backpacking, but not so much if you’re driving to your destination. Having a larger tent can feel more luxurious and leave you open to more possibilities. It’s also always better to have more space in the event that it rains and you’ll be stuck inside. Also keep in mind that the person-count on tents doesn’t account for your bags, chairs, cushions, etc. A five-person tent literally means that five people can fit inside, not necessarily five people plus all of their belongings.
34. Consider using a second groundsheet.
Most tents have a built-in groundsheet to keep the floor dry. This is great for wet-weather camping, but it can be messy to pack away your tent if the bottom of it is extremely muddy. To avoid this, a second groundsheet can be put down first. That way, it can be folded up on its own to confine the mud and dirt to a single piece, instead of mucking up your whole tent in the packing-up process.
33. You don’t have time for flimsy tent stakes.
Often, the stakes that come standard with tents are a bit weak. Especially if you camp often and are constantly using your stakes, consider investing in tougher ones for some peace of mind.
32. Always use a mallet to push your stakes in.
Unless the ground is super soft, don’t use your foot to push your stakes in. This could bend even the most heavy-duty stakes, and it’s unnecessary to do it that way if you have a mallet, which yields a clean, direct push that assures that your stakes go in nicely.
31. Don’t leave your stakes sticking out.
Too many times I’ve stubbed my toe on tent stakes — and I’m here to tell you that you don’t have to. Pound those stakes nicely into the ground to avoid a toe-stubbing fiasco. It helps to bring along a tent peg puller to help get them out when you’re leaving, though. That way, you don’t have to worry about the stakes being too deep to get out later.

30. Use stake lights to mark your guy ropes.
We’ve all tripped over a guy rope or two while camping. One way to avoid doing this yourself or putting someone else at risk of tripping at night is by putting out some solar-powered stake lights where your ropes are. Even small solar-powered LED lights work just fine to illuminate the ropes.
29. Don’t wait until your camping trip to pitch your tent for the first time.
Imagine getting to your campsite in the dark and fumbling with your newly purchased tent that you have never actually pitched before. Give it a trial run before your trip to avoid any mishaps. Pitch your tent in your living room, back yard, or patio. (But resist the temptation to camp out in your house just for fun.)
28. Choose your spot strategically.
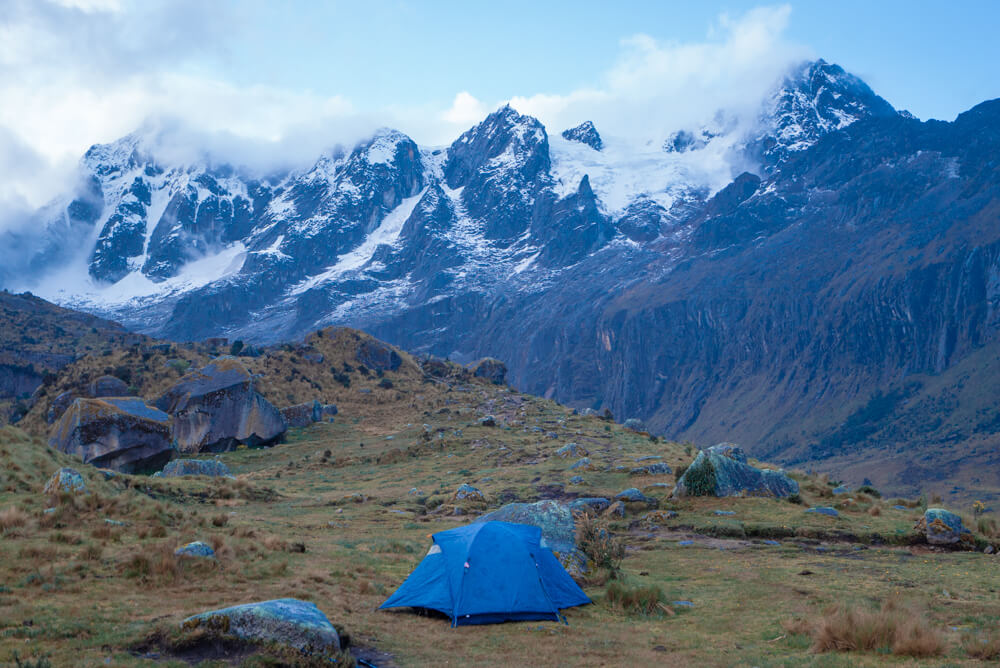
Aside from the obvious tip that you should always pitch your tent on a flat surface, there are a couple other things to keep in mind when choosing your site. Some campsites have designated pitches that leave little room for strategy. If your campsite allows for some choice, though, consider proximity to bathrooms and common areas. Those tend to be noisier and have more traffic. Keep an eye out for fences, walls, trees, and other campers. Being on the end of a campsite can be unpredictable if you don’t know who the neighbors are.
27. Inspect before you pitch.
Give the ground a thorough inspection before you lay your groundsheet. You’ll want to make sure it’s completely clear of pebbles, twigs, or any other debris that could potentially damage your tent or make it uncomfortable to sleep on.
26. Zip everything up before you pitch…
Having your tent doors and windows flapping around makes it a million times more annoying to pitch your tent. Avoid the hassle by making sure everything is zipped up before you even begin putting your site together.
25. …but unzip before you take it down.
The last thing you want is to get air trapped in your tent as you’re trying to roll it up in a neat little package. Having it all zipped up can actually put you at risk of damaging your tent, because you could cause a rip as you’re trying to squeeze out the air. To avoid this, just unzip all the doors and windows before you roll it up.
24. Cleanse your tent before putting anything inside it.
Light up some incense or give the inside of your tent a good spray with some nice-smelling, energy-cleansing mist before you put anything inside. Especially if your tent has been sitting somewhere unused for a while, it might have a funky smell. You don’t want to lie your head down at night only to be distracted by the musty smell of your tent. So take a minute to get rid of any weird aromas.
23. Set up some shade.
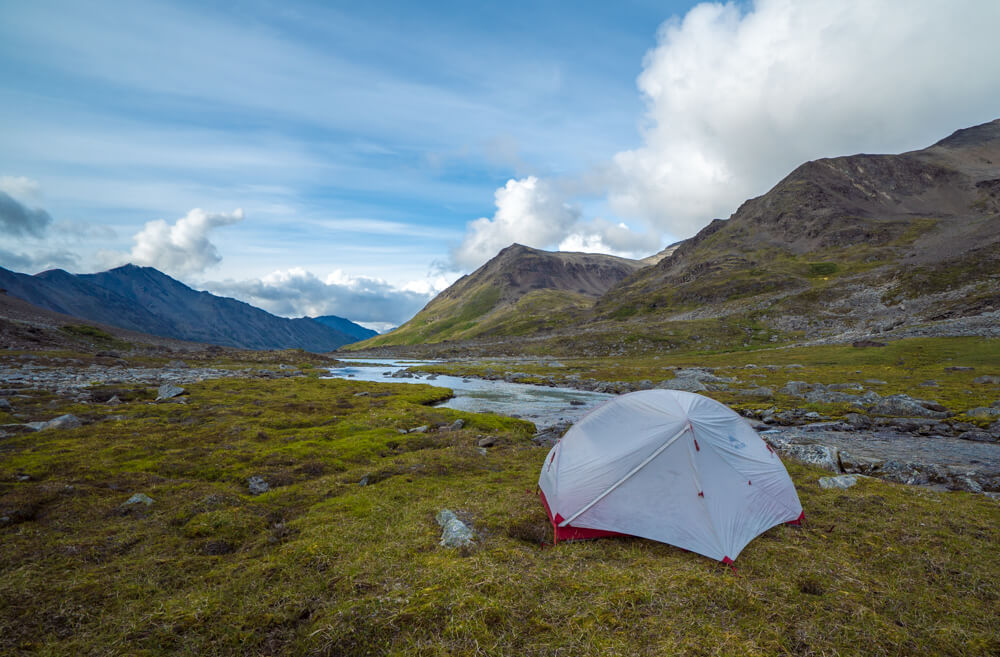
Some tents already come with a canopy that allows for some shade. If yours doesn’t, consider bringing a separate awning or tarp that you can put up to shield yourself and your things from the sun. This can also be pitched over your fire (high up, of course) to shield it from light rain and allow you to cook in less-than-ideal weather.
22. Get some privacy.
In more crowded campsites, it can feel like you have zero privacy. To give yourself a bit more, see if your campsite allows windbreaks, which not only help with wind but can create a bit more of a barrier between your pitch and others, which feels more private.
21. Make it homey.
Just like the string lights can help you feel more relaxed before bed, a few homey touches in your tent can really elevate your camping experience. If you have room in your vehicle to bring some extra things, it’s very little hassle and high reward. An old area rug can be nice to throw down inside your tent; even a couple cushions to sit on can make it feel much more like a home away from home.
20. Bring clips to secure your lighting.
Instead of using disposable cable ties to secure your string lights or other lighting around your site, bring some plant clips or binder clips with you. These also come in handy for securing tarps or other materials, and you can use them over and over again.
19. No stake, mallet, or pole left behind.
There’s nothing worse than losing an important piece of your tent. Replacements can be difficult to come by, so make sure to double- and triple-check your campsite for any such pieces before you leave.
18. Actually, leave nothing behind.
Besides your precious belongings, always make sure to pick up any trash or debris that you have accumulated. Don’t be that person that leaves a bunch of chip bags and beer cans. It’s common courtesy for the next campers, but it’s also just never okay to litter.
Packing for Success
17. Vacuum-seal your bedding.
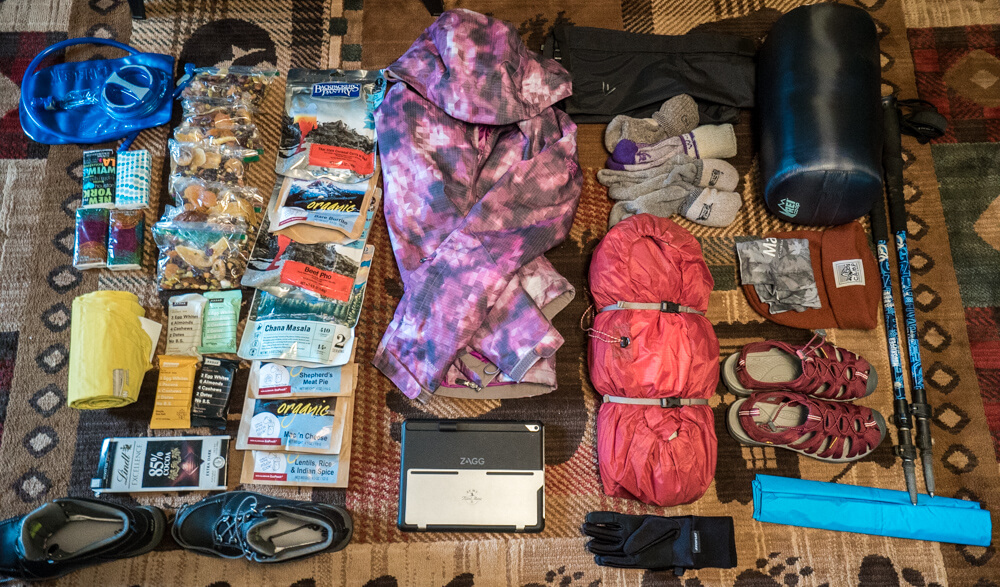
It’s really easy to find vacuum-seal storage bags, and they make packing for a camping trip so much easier. Some bags don’t even require an actual vacuum to suck the air out and compact everything. The ones I use have a seal at the top that you can close partially while you squeeze the air out. Packing your bedding like this assures that it will stay dry and relatively compact while you travel.
16. Store your shoes separately, always.
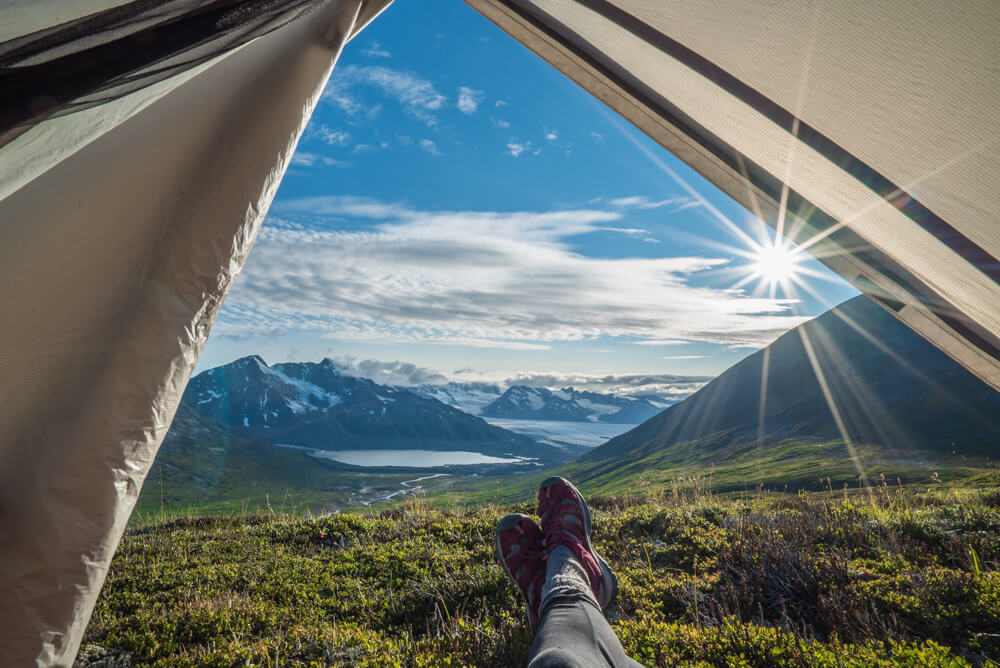
While on a camping trip, getting your shoes dirty is part of the deal. If you’re not mucking up your shoes, are you even camping? To avoid the dried mud and other icky bits getting on your clothing or in your car, bring a separate bag for dirty shoes. It doesn’t even have to be a plastic bag if you’re trying to avoid single-use plastics. Throw them in a canvas tote that you can tie or zip shut. Anything will do, just as long as the dirt is contained.
15. Consider a collapsible hamper.
Speaking of dirty clothes, make sure to have a designated place for them. A collapsible hamper can really come in handy, as you can keep it in a corner of your tent and toss your dirties in there. You can also go the old-fashioned route and just keep your dirty laundry in a canvas tote. Just make sure it’s separate from your clean clothes.
14. Inside shoes and outside shoes — trust me on this.
I have this rule in my house as well. Nobody wants to drag dirt and debris into their tent, especially when you’re sleeping so close to the ground. Bring along some inside shoes: flip-flops, slippers, fuzzy boots, whatever is comfortable for you and suitable for the weather. This way you will keep both your feet and the inside of your tent clean.
13. Be ready for any and all types of weather.
Being rained on is 100% worse if you’re not prepared for it. In fact, any type of weather is unpleasant if it comes as a surprise. Always bring the essentials for rain, wind, or even extreme heat. To prepare for rain, make sure you have a plan for waterproofing everything. I also suggest creating a rainproof living space outside of your tent, so you don’t feel confined in the event that it rains for a long time. This can be as simple as extending a tarp above you to have somewhere dry to hang out.
12. Light layers is the name of the game.
Part of preparing for any type of weather is knowing what clothes to pack. I always bring several light layers: a cardigan, plus a long-sleeved shirt, plus a thermal… you get the idea. This will help you avoid overpacking and make it easier to adjust your outfit to the weather.
-READ MORE-
11. Bring some pampering essentials.
You might be more of a bare-bones camper, and that’s completely valid. I still recommend bringing an item or two that feel luxurious and pampering. Maybe it’s a face mask or some nail polish. Maybe it’s a couple vials of essential oils for aromatherapy. Whatever brings you a sense of comfort away from home, no matter how basic, is worth bringing with you.
10. Always have a backup charger.
When I go anywhere, I always bring a powerbank to assure I’ll be able to charge my phone in case there isn’t an outlet anywhere. Beyond that, I always make sure the powerbank is fully charged. Maybe I’m scarred from my days as a Peace Corps volunteer and constantly being without a charge on my phone due to a lack of electricity… Since I use my phone for music and my meditation app, to track my cycle, and to keep an eye on the weather, I feel a sense of calm knowing I’ll be able to keep it charged. I also suggest bringing a backup cable in case you lose one.
9. Pack your car in chronological order.
How, you ask? By chronological order, I mean in the order of what you’re going to need first, next, last. For example, you will want your tent to be the most easily accessible. Your clothes, blankets, and other non-urgent items can be packed underneath the more time-sensitive items.
Hygiene Tips and Tricks
8. Make toothpaste dots.
Instead of bringing a tube with you, make toothpaste dots by squeezing some onto foil, sprinkling it with baking soda, and letting it rest for three days or so. Boom, lightweight toothpaste that you can throw into a small container without worrying about spillage. You can also buy toothpaste tabs and mouthwash tabs at Lush, which is a great low-waste option.
7. Use wipes for washing.
Wipes can feel pretty luxurious when out camping or hiking, especially if you don’t have access to a sink and bathroom with running water.
I really like Essential Wipes (coupon code to get 10% off: bemytravel-fresh), which are made from renewable bamboo, essential oils, and natural ingredients and just need a tiny bit of water to hydrate. When combined with hot water, they’re a nice steamy towel at night; with cool water, they’re a nice relief on a hot day.
6. Try solid shampoo and conditioner.
Now that solid shampoo and conditioners are more popular and accessible, the formulas keep getting better. Bringing these along instead of tubes is a great way to save space. You can even cut your bars in half and store them in the same container to cut down on how many things you have to lug with you to the shower.
Leave No Trace
5. Have a trash plan.
Do not show up at a campsite without a plan for what to do with your trash. Most will have trash bins around, but some might not. Either way, bring bags for taking any trash with you when you leave if need be. If you have to be that person who takes their trash with them, be that person. Don’t be the one that leaves it out in nature or at a campsite.
4. Use reusables whenever possible.
I know it can be tempting to go camping with a bunch of paper plates, plastic silverware, and other single-use items because of how convenient it is to throw them away without having to wash anything. However, having to lug around all these dirty, used disposable items is just as much of a hassle as having to wash reusable items. There are a ton of options for reusable and easily transportable cutlery, plates, cups, straws, and anything else you might need. You won’t have to keep buying them either, so it’s a win-win!
3. Have power over your period.
Camping while on your period can be annoying, messy, and uncomfortable. Considering how much waste we create with single-use period products like tampons and pads, it can be overwhelming to think about where to dispose of all those things. I can’t recommend using a menstrual cup enough. If you’ve never used one and are intimidated by it, I get it. I was too. But I’ve been using one for seven years now, and it’s the best decision I’ve ever made; it comes in especially handy while camping. It’s zero waste and easy to clean, and it saves me from having to worry about where to ditch my used tampons.
2. Make your own antibacterial wipes.
Having some antibacterial wipes can really come in handy when you need to clean a surface before cooking or eating. The wipes themselves and the tubes they come in are typically super wasteful, but you can avoid that by making your own. There are plenty of tutorials and recipes online that you can use to make your own from materials you likely already have lying around your home. I use old rags and a simple cleaning solution to make mine, and I store them in a big glass jar.
Into the Wild
1. Paper maps are your friend.
If you’re planning on going out for a hike, ask your campsite managers if they have paper maps of the area. With the technology we have nowadays, we’ve gotten so out of the habit of using paper maps, but they can actually be quite fun to use! Being familiar with how to guide yourself using a paper map can also save you from getting lost in the event that you end up somewhere without phone connectivity.
Pin me for later:


Take your camping skills from good to great with these awesome hacks. You’ll be impressing your friends with your creativity and resourcefulness in no time. Want more camping tips and inspo? Check out our Ultimate Solo Camping Guide for Solo Female Travelers.
Leave a Reply