I always thought that there was some big secret that everyone who took amazing low-light and long exposure photos knew that I didn’t know. I figured it was probably a difficult technique or maybe something that only fancy cameras could do, until doing some research, playing around with my camera settings, and realizing that it wasn’t rocket science at all.
There’s no big secret, and taking successful low-light pictures boils down to two things: the right settings, and the right equipment.
For any kind of low-light photos, of course you need a camera (<– captain obvious). Phones don’t perform very well in low-light settings and nothing in this post involves flash, as I believe it’s the ruiner of landscape photography.
Most DSLR cameras will do the trick in low light, and everything in this post was shot on my Sony a6000 with a wide-angle lens (though the lens doesn’t have to do with the ability to shoot in low light. It’s just the one I use and love the most). I also recommend a cheap tripod from Amazon.
You also have to be able to see what you’re doing and then to easily be able to turn that light off again so that the light doesn’t wash out the foreground of your photo. In this case I almost always use a headlamp to keep my hands free.
For this post I’ve also teamed up with VARTA Consumer to show you a few other little tools, such as strings of battery-powered lights, an adjustable waterproof headlamp with several settings to help in fog, low light, and complete darkness (I use this for hiking and camping too!), and lightweight, LED lanterns that can all help to make a low-light photo look even more magical and ethereal.
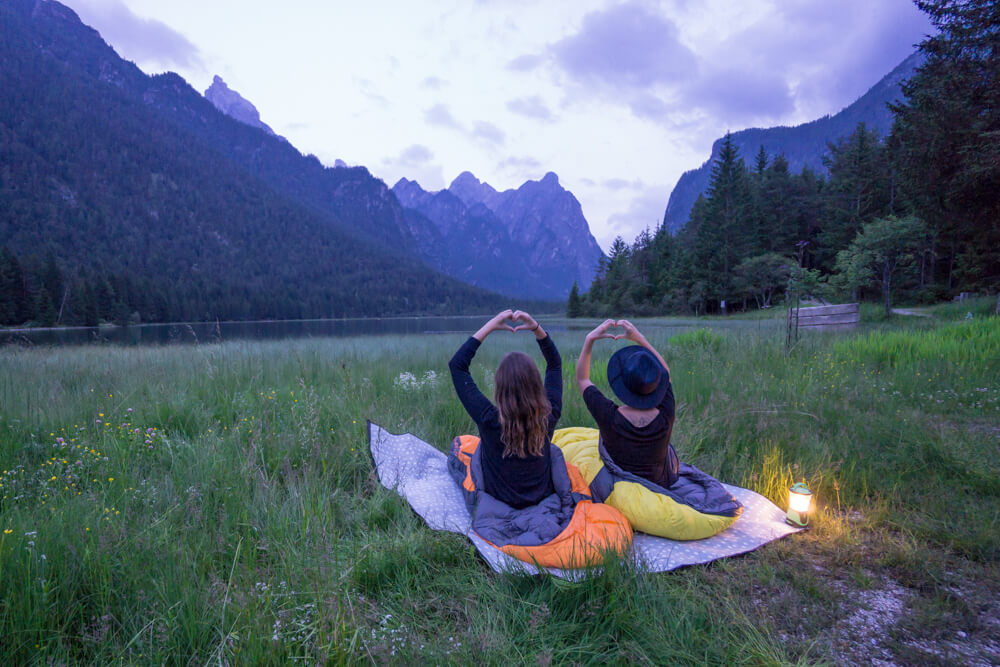
First, let’s talk about settings
The reason why you need a tripod, or something sturdy to balance your camera on, when taking low-light pictures is because the camera needs to be completely still. This means that you also need to set a timer release when you take the photo so that the movement from your hand pressing the button doesn’t cause the camera to move as it’s taking the photo. You can also use a remote or even your phone if your camera is able to connect to your phone (mine is).
In manual, you can change up the settings for three main things as it pertains to your low-light photos:
- Aperture is the F-stop and the number will get lower as the light outside decreases. For example, at night, you are probably going to want an F-4 or lower.
- Shutter Speed This is the amount of time that the shutter is open to take the photo. It will get longer as it gets darker and this is why it’s important not to move the camera or anything you’re taking a photo of, unless you want it to move to create a cool effect, like water.
- ISO has to do with your camera’s sensitivity to light. The lower the number, the less sensitive your camera is to light which basically means that in lower light you can allow more light into the photo, but this also increases the “noise,” or grainyness of your photo.
Here are a few examples and my settings for each:
If it’s cloudy
Sometimes clouds can ruin a perfect summer day but I often find that they can contribute to making a photo better as long as you know how to make cloudy weather work for you.
I’ve been to Lago di Braies in South Tyrol, Italy, twice but it’s very normal to have a bit of cloud cover there. No big deal, because the color of the lake is so stunning it needs no competition from a blue sky.
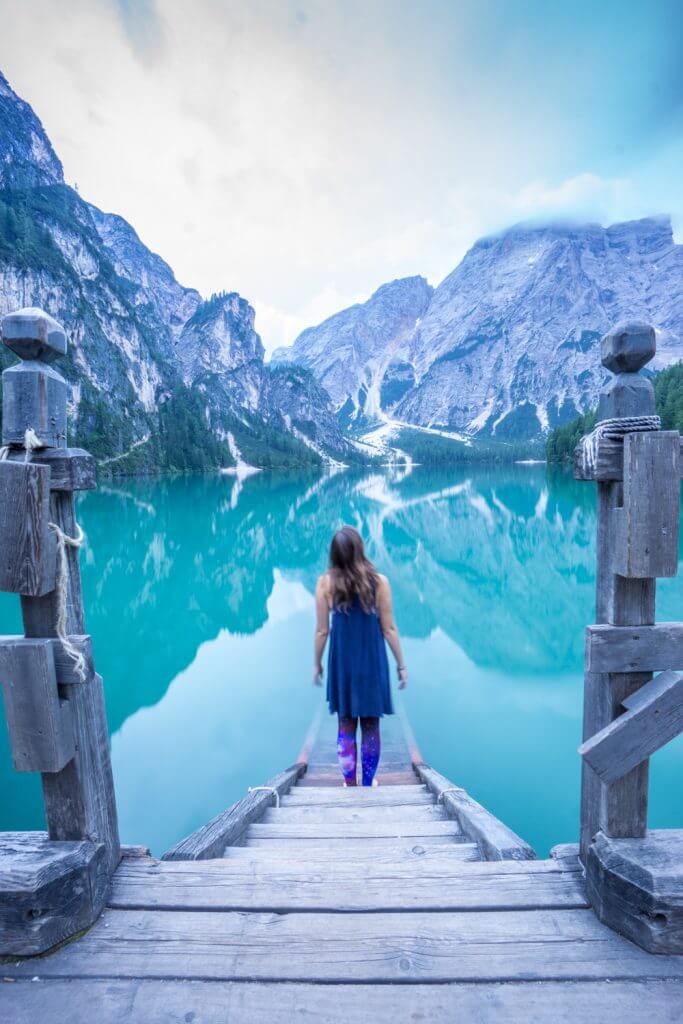
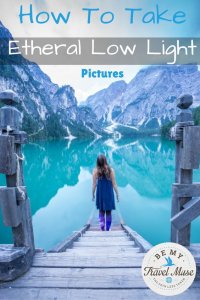
For this shot, I put my camera on a tripod and set it to F14, ISO 100, and a 10-second exposure. I also set it to a 10-second timer and went and stood in the photo. You can see that my shirt, hair, and left hand moved a bit. I’ll blame a light breeze for the first two issues but admit I must’ve moved my hand.
I love the glassy look of the water in this picture, and recommend this setting if you want to make the water look like mist in your photos in low-light situations.
If it’s blue hour
Blue hour is the hour before the sun rises in the morning or after it sets in the evening. If you’re near water, this is a great time to get an ethereal night shot that makes the water look like mist without needing a filter to combat the excessive light coming in.
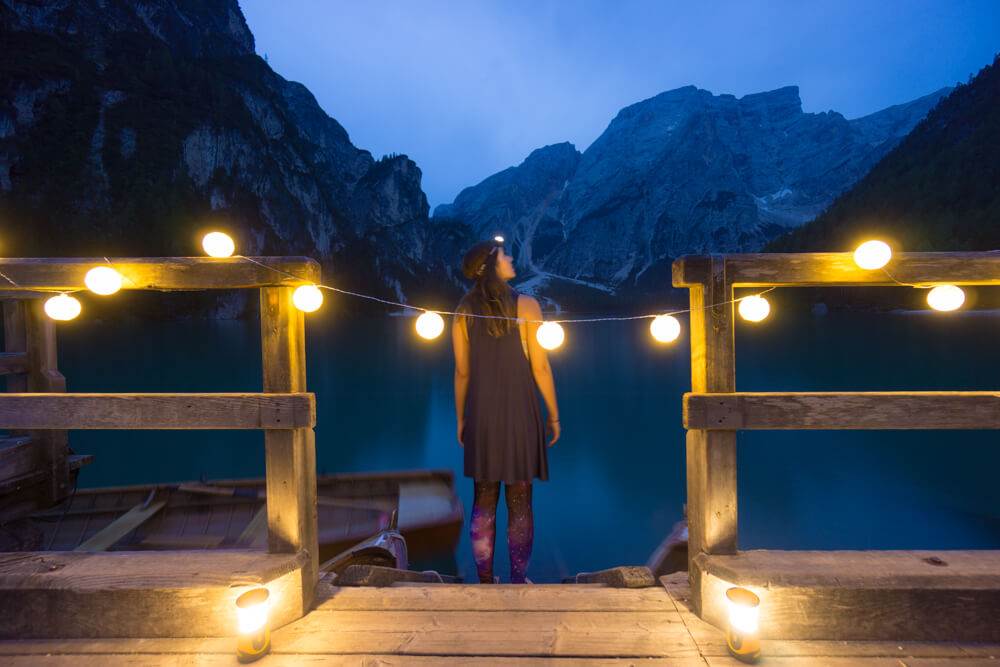
About 30 minutes after the first picture in this post, I strung up some VARTA Consumer lights, put on a headlamp, and placed some of the smaller LED lamps around to make the photo look even more magical. I love the way that adding a few lights to a photo can really warm it up even if it otherwise looks dark and cool. This can be a total game changer to making an otherwise dark picture seem warm and inviting.
I changed my settings to F4 (to let in more light), ISO 100, and 20 seconds. Once again, I had to hold very still for the picture.
Tip: If you want to be in the picture, stand farther away from the camera and use a friend or a remote to take the picture for you. That way, even if you move a bit, it won’t be as obvious.
Also, headlamps almost always make night photography look even cooler by adding a warm streak to the photo and shining out into the distance.
If it’s almost completely dark
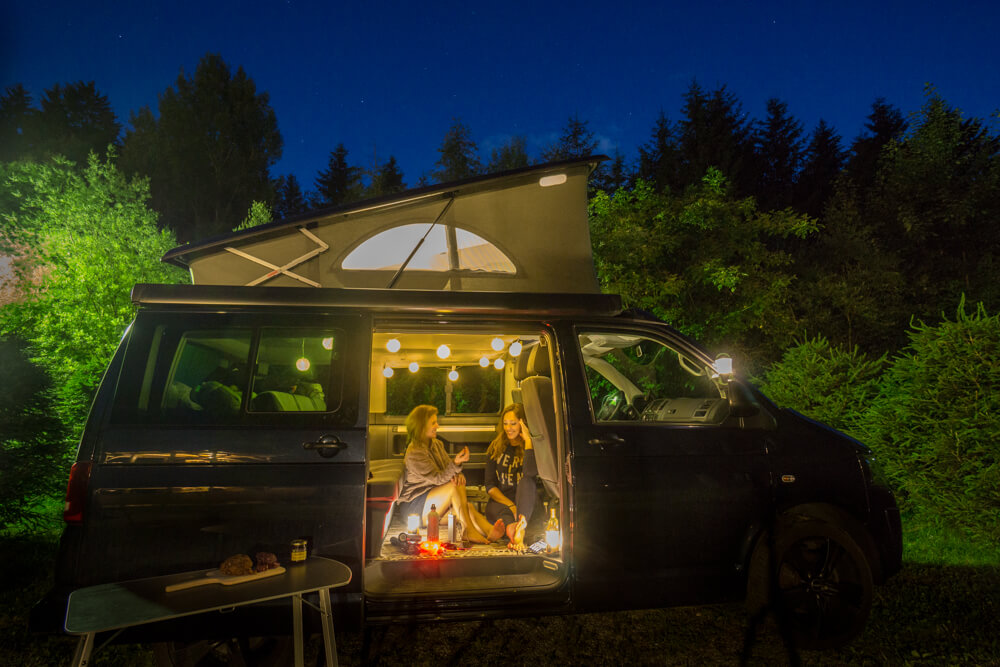
When the sun is completely down and barely any light is left, you’ll want to find some way of lighting up whatever subject you’re taking a picture of, unless it has some light of its own.
I either do this by flashing my headlamp light in the direction of my subject for a second or so, or by adding some light to the picture, as I did with the string of lights in the camper van, plus the lanterns inside of the van and up in the roof tent for this shot.
Since there was so much light already in the foreground, I put my camera on a tripod, a 10-second timer, and F2.6, ISO 2000, and a 6-second exposure. We had to retake the picture about 10 times because we kept laughing at each other and moving during the shots.
If I’ve learned anything, it’s that low-light photos are usually not quite right the first time around, but take some experimentation, trial, and error.
Of course, it always helps if your subject matter is beautiful, as is definitely the case with South Tyrol, Italy. For more on my favorite spots there to hang out and photograph, read this next.
*This post (obviously) was brought to you in collaboration with Visit South Tyrol and VARTA Consumer. I love the way the battery-powered lights make my photos look that much cooler and my reviews of the products and locations are sincere. Your trust always comes first.
Maria says
This was super helpful! I just got myself a proper camera (instead of the phone..) and I’m so excited to go out and experiment with it 😛
Kristin says
Let me know how it goes for you!
Jenna says
I asked and you answered! Thanks for the tips! Going to use these on my trip to Ko Phi Phi!
Kristin says
🙂
Timo says
Aaahh, yes adding the light will do the trick, and the picture looks better with the smaller LED lamps.
I’ve never thought of adding the remote app to my camera, now I am going to add it. Do you use the Smart Remote Control for your a6000?
Kristin says
Sometimes I do that and sometimes I just use the timer release. I have a remote too which for some reason I have trouble with. It’s my third one now so I wonder if the problem is me!
Rachel says
really useful, thank you! I’ve always struggled to get those low light shots to look as good as they are in real life
Kristin says
I found it’s all about long exposure
Kristen says
I love dark and low-light pictures. It’s one of the next photography challenges I want to tackle! Astrophotography really opened my eyes to what is possible with a long exposure. Makes me happy to know that taking pictures doesn’t have to stop when the sun goes down!
mars says
I got really excited that we’re using the same camera! Thank you for indicating your camera settings for each scenario! Really helpful! Officially subscribed to your site!
Kristin says
Awesome! Once I master milky way photography there will be a post to follow on that too 🙂
Venessa says
Best way to get great milky way shots (and stars even) is to ensure your camera’s shutter speed is minimum 30 seconds, you’ll have to play around with your aperture because that will depend on the moon phase (different moon phases shed more or less light altering your aperture). If you want to do star trails take multiple 30 second shots and string them together in photoshop! If your shutter speed is longer than 30 seconds you might find your stars aren’t as crisp because of the movement of the earth. Make sure your focus is set to infinite! and good luck!
Kristin says
Doesn’t that depend on the lens you use, though? I heard that the time your shutter is open would depend on that.
Ashley says
great article! helpful and easy to follow!
Venessa says
I took photography in school but still LOVE reading these kinds of posts to see tips and tricks other people use! This is a great post for beginners and does a wicked job explaining it! I love that you run into your long(er) exposure photos to add that little something extra!!
Brett says
Just starting out in photography I am glad I stumbled upon this article as it helped a lot with some of the questions I had regarding low light situations. Thank you!
Kristin says
Glad I could help!