Imagine standing at the top of the world, surrounded by majestic snow-capped peaks that seem to stretch endlessly into the horizon. A herd of elk graze in a lush meadow across a glacial river, and nearby a waterfall cascades down a rocky cliff. You take a deep breath of crisp mountain air, your shoulders open, and a sense of peace swells in your heart.
Welcome to Rocky Mountain National Park.
If you travel just 60 miles west of Denver, Colorado, mountain peaks replace high rises, and the bustle of the city fades into the whisper of nature in one of America’s largest parks. Rocky Mountain spans 415 square miles and has over 60 peaks reaching over 12,000 feet. It is known for its glacial lakes, tundra ecosystems, and lush forests of aspen and evergreen trees.
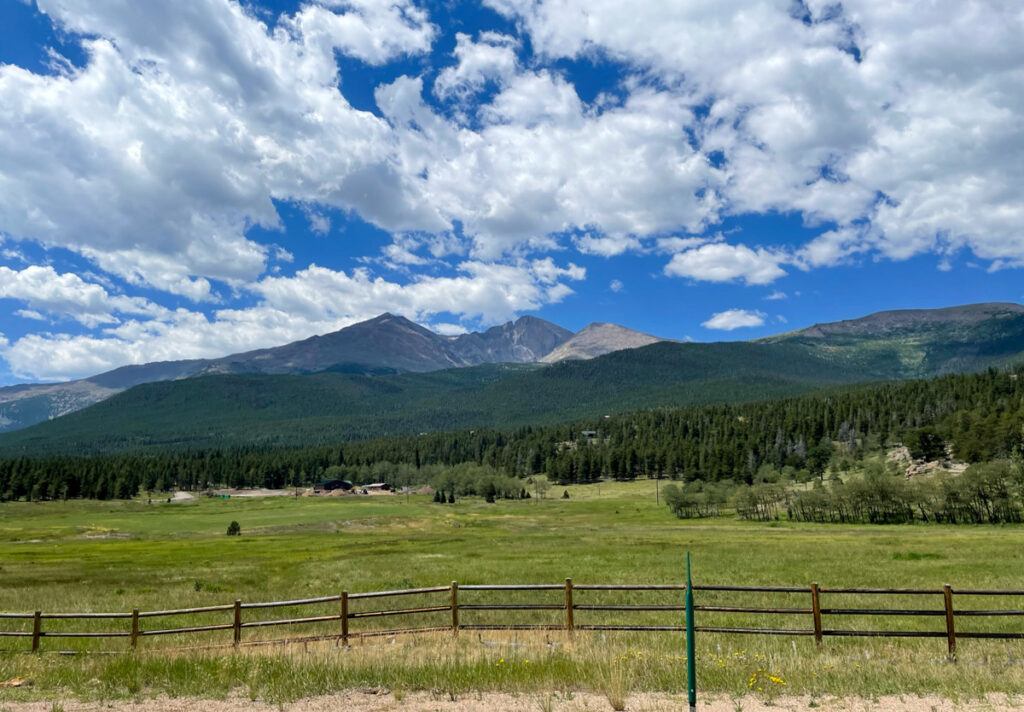
Early explorers considered building a railway system to the area, a common trend to increase tourism to remote regions. However, not only did the rugged terrain make this costly and challenging, but the park’s original advocates believed trains would negatively affect its natural beauty. As an alternative, they advocated for the construction of roads, minimizing the impact on the environment while still making the park accessible.
Now, over one hundred years later, Rocky Mountain National Park has the highest paved road in the United States, making it one of the best options for your next adventurous Colorado road trip.
Where to Start Your Road Trip
There are two main entrances: one to the east, through the town of Estes Park, and to the west, through Grand Lake. Denver International Airport, the closest, is an hour and a half from Estes Park and three hours from Grand Lake.
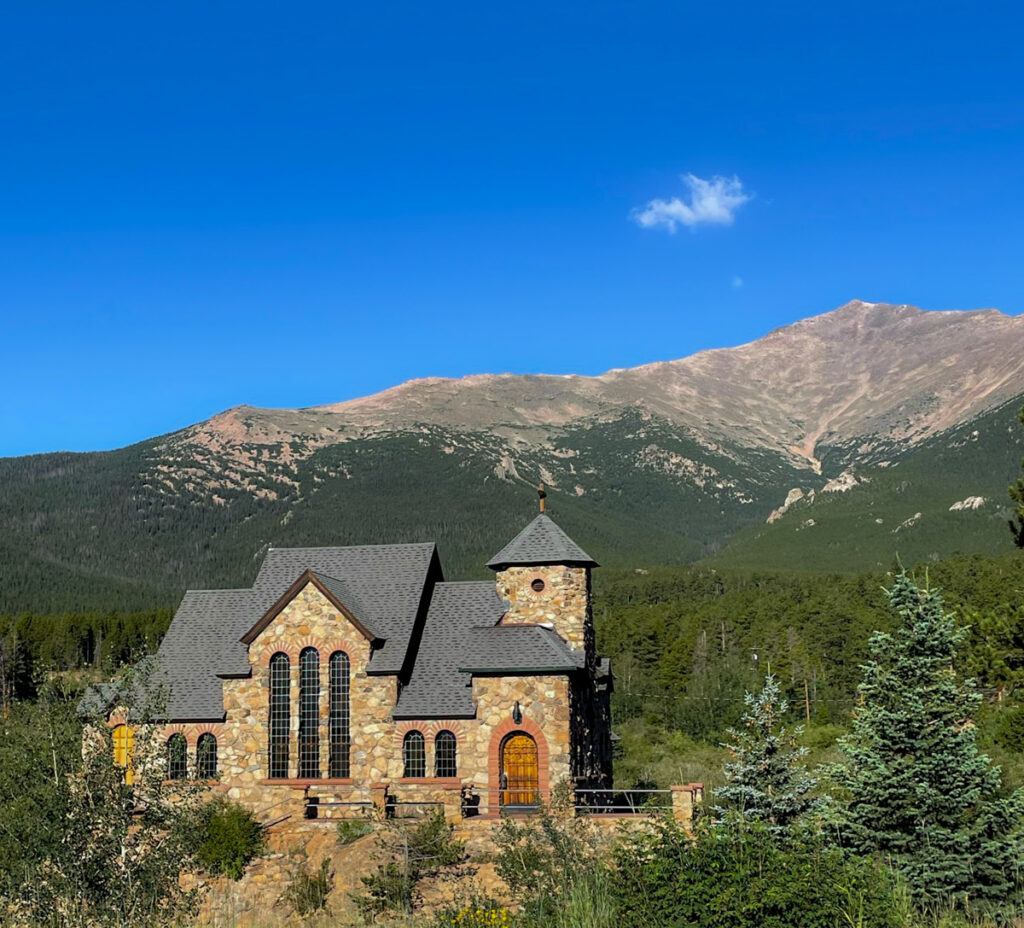
While it’s possible to loop through the entire park and reach both towns, keep in mind this isn’t necessary to experience its full beauty, so make sure you time it out and plan your route accordingly. Either route will take you onto Trail Ridge Road (see below).
Check the park’s website for road closures and construction updates before you start your trip.
Trail Ridge Road
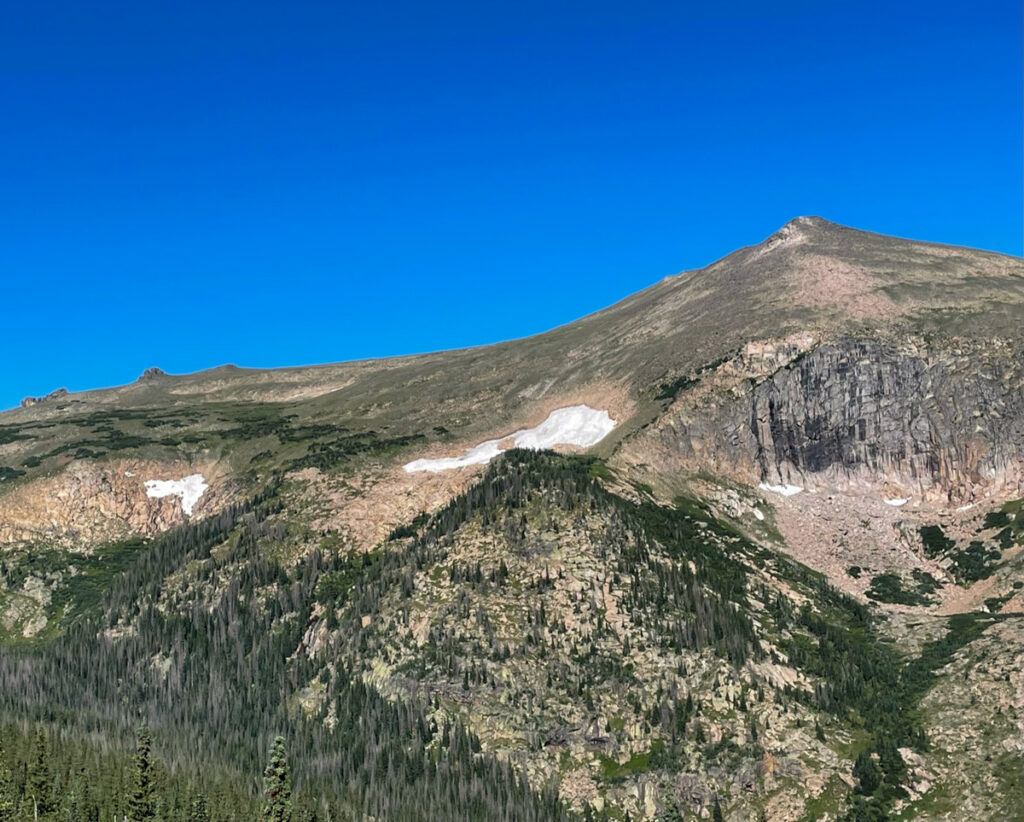
Trail Ridge Road, the highest continuous paved road in North America, weaves through Rocky Mountain National Park and connects the towns of Estes Park and Grand Lake. An iconic symbol built during the Great Depression, the roadat its peak reaches an elevation of 12,183 feet. Multiple overlooks and pullouts offer overwhelming panoramic views of the surrounding mountains and valley while passing through a variety of ecosystems.
As you ascend the road, you’ll enter an alpine environment of fragile tundra vegetation and clear streams. I visited in August, and snow still capped the peaks. Keep in mind: parts of the road are closed during the winter because of heavy snowfall.
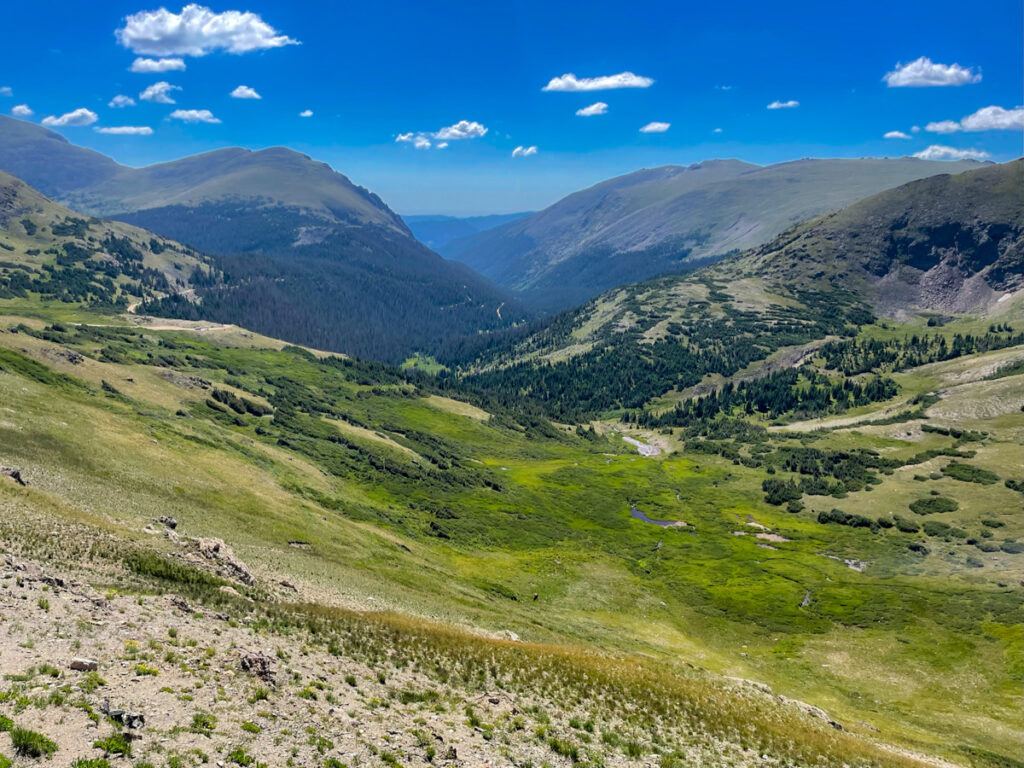
If you’d like an added adventure, check out the Alpine Ridge Trail, which winds through the tundra and offers an easy 20-minute hike with little to no elevation. Old Fall River Road is a historic unpaved road that will divert you from the primary route and offers a more rugged driving experience. I opted against doing this road, mainly because it’s one-way, and I would end up at a side of the park I’d already visited.
Continental Divide
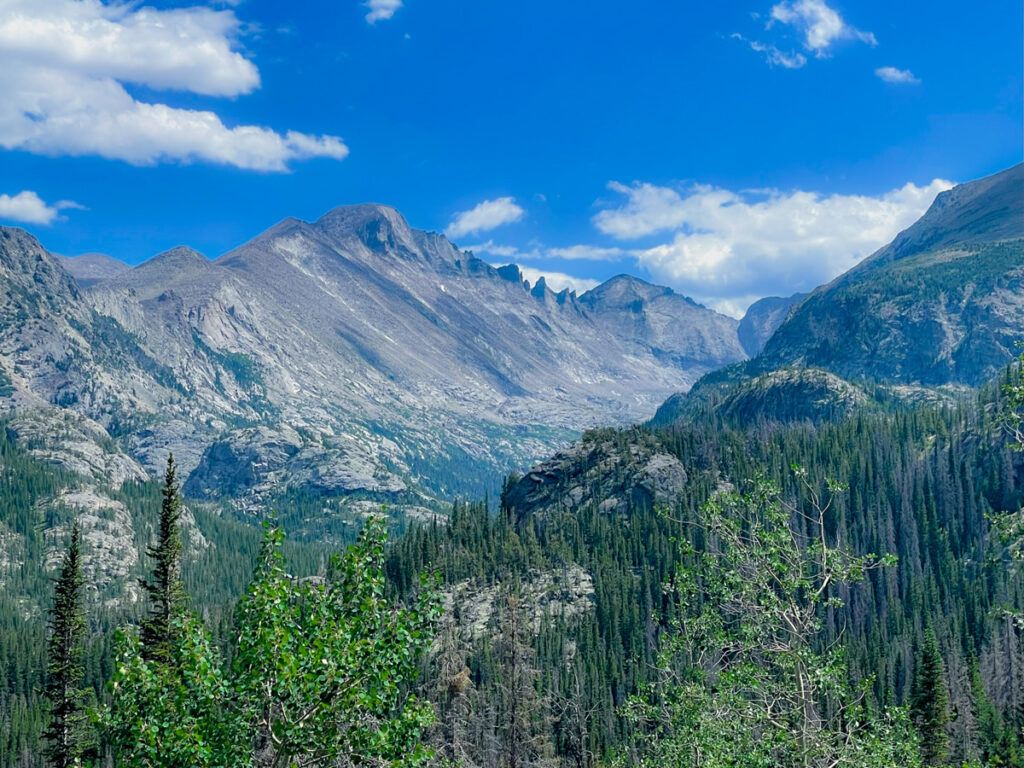
A couple things to remember for your road trip: Bring a map, and drive carefully! The winding roads climb into the mountains and in some spots are incredibly steep.
This is definitely the case when you reach the Continental Divide, a geographical line running north to south through the park and dividing the watersheds of the Atlantic and Pacific Oceans. This prominent feature reaches an elevation over 12,000 feet, making it one of the highest points in the park. Each side of the Continental Divide has distinct climates and ecosystems, with the east characterized by drier conditions and the west being more lush and forested.
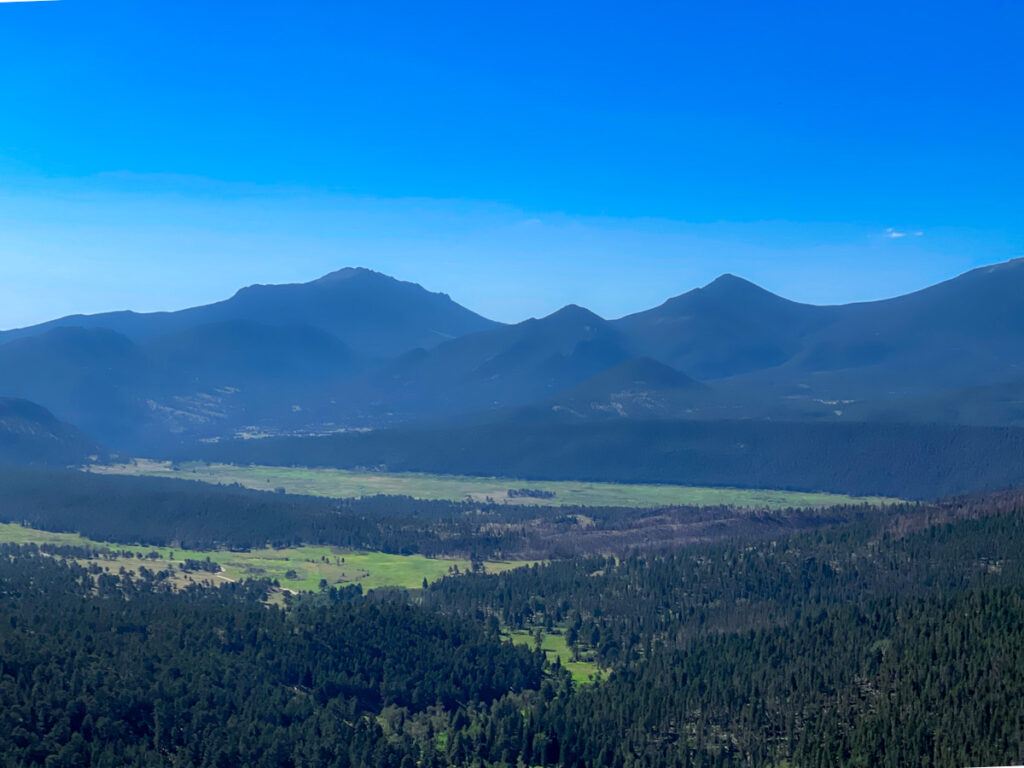
If you’re up for an adventure, hike the Continental Divide Scenic Trail, a 29-mile route that follows the ridge of the divide and has an elevation gain of 5,000 feet. It is possible, however, to explore this trail without taking the entire hike.
Best Stops on Your Rocky Mountain National Park Road Trip
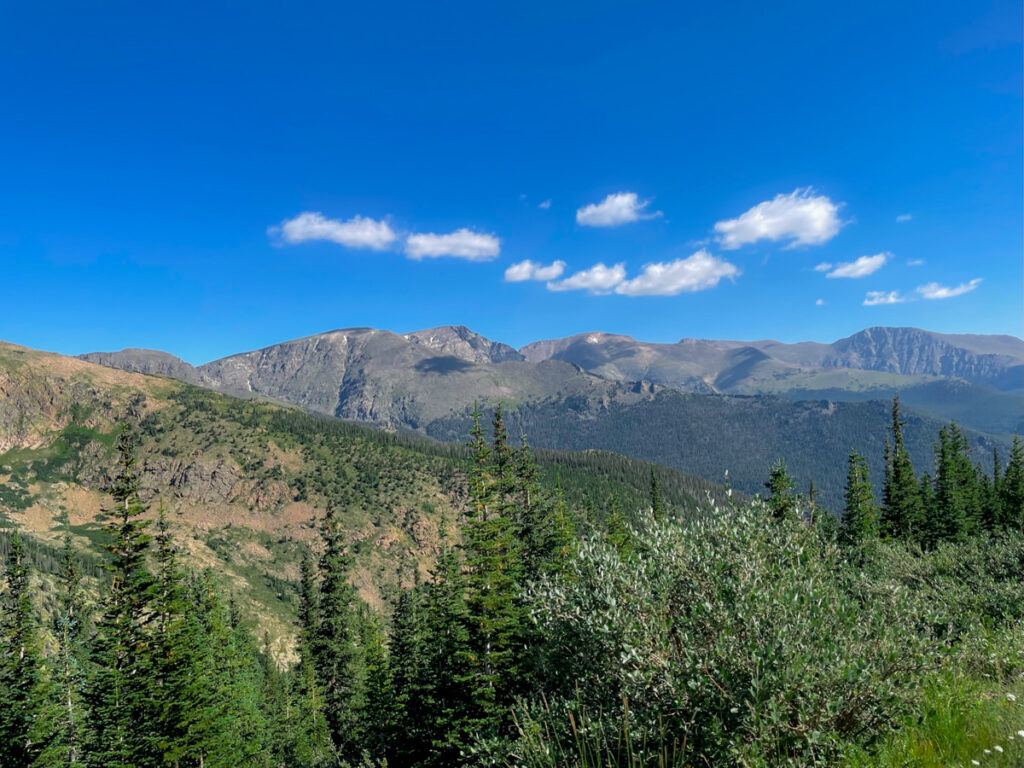
As you make your way around the park, stop at the visitor centers along the way, where you’ll find bathrooms, souvenir shops, and snacks. Rangers are more than happy to answer questions, and you can learn more about the area’s history, wildlife, and geology. The visitor centers also supply park and hiking trail maps, so you can plan your day accordingly.
Best Hiking Trails
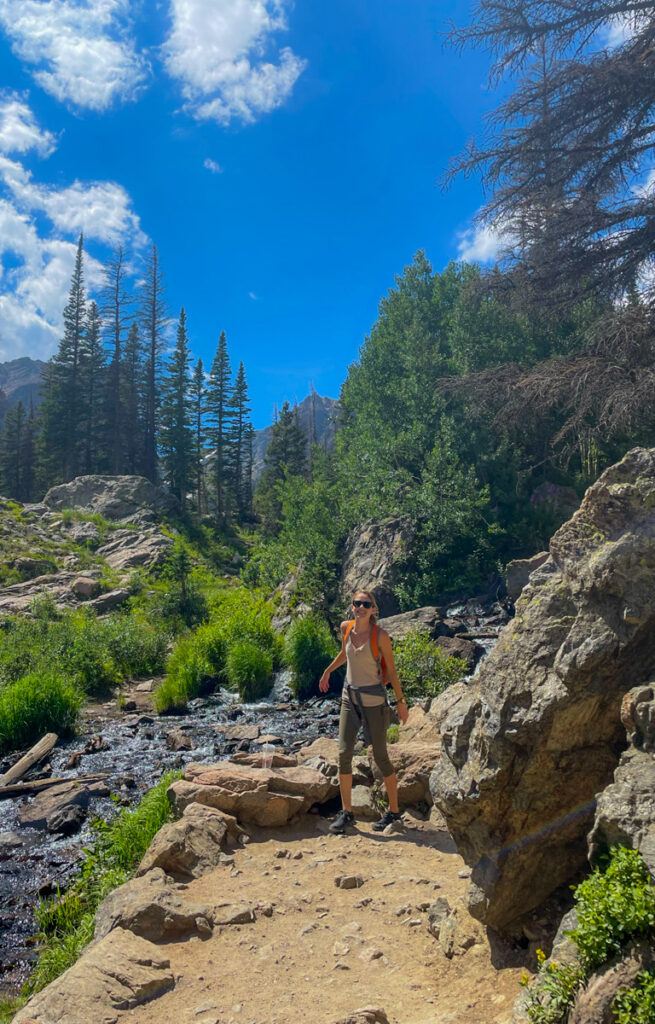
Over 300 miles of hiking trails weave among glacial lakes, through tundra meadows, and up towering peaks. There are various difficulty levels, so be sure to evaluate your expectations, distance, and elevation before you start.
Bear Lake: very easy
Bear Lake Trail is an extremely easy .7-mile trail that loops around Bear Lake and only has an elevation gain of 47 feet. If you’re with small children or elderly people, this is a great trail to start, but keep in mind that it’s very crowded in the summer. Either way, I recommend starting at the Bear Lake Trailhead parking lot. To the left, you’ll find more trails of increasing difficulty, from easy to moderate to challenging.
Nymph Lake: easy
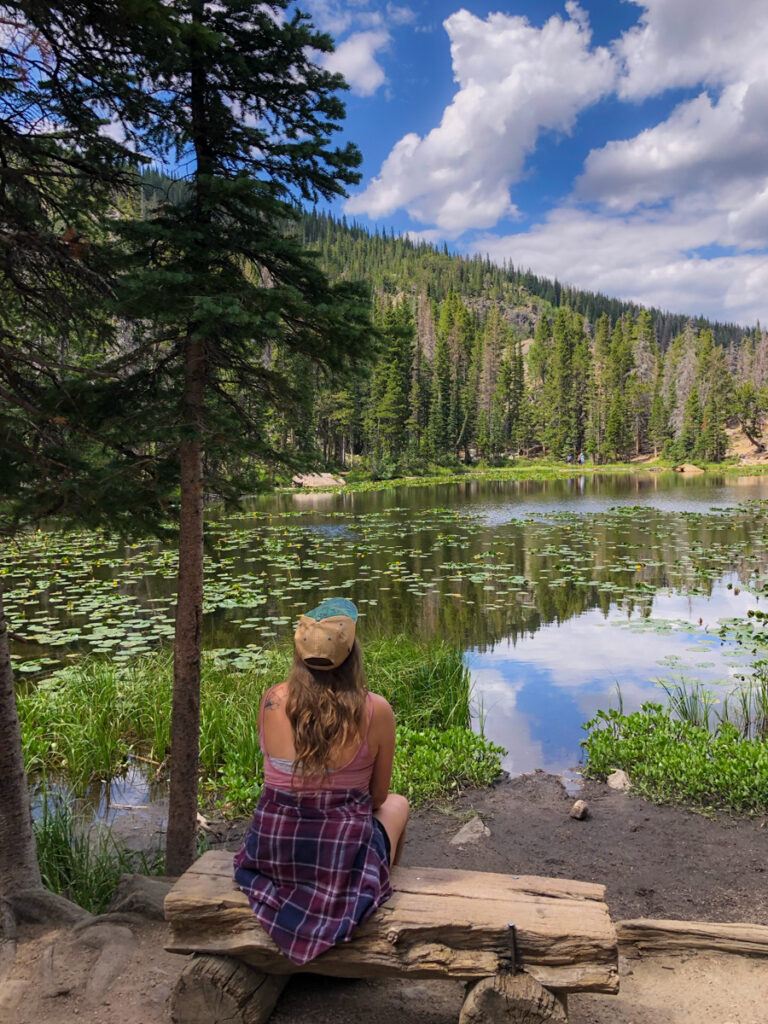
Nymph Lake Trail is a well-maintained, 1.2-mile trek that gains 262 feet in elevation and takes about 40 minutes to complete. It hooks around Nymph Lake and offers views of the mountain range. You’ll pass through forests and meadows and have the opportunity to spot marmots and chipmunks. In the summer, Nymph Lake is at its fullest and is surrounded by wildflowers in bloom. Fall is also a favored time to visit, as the leaves are just starting to change.
Note: If you take a break to eat, beware of the chipmunks! They were very daring on this hike, attempting to steal food out of my bag!
Dream Lake to Emerald Lake: easy to moderate
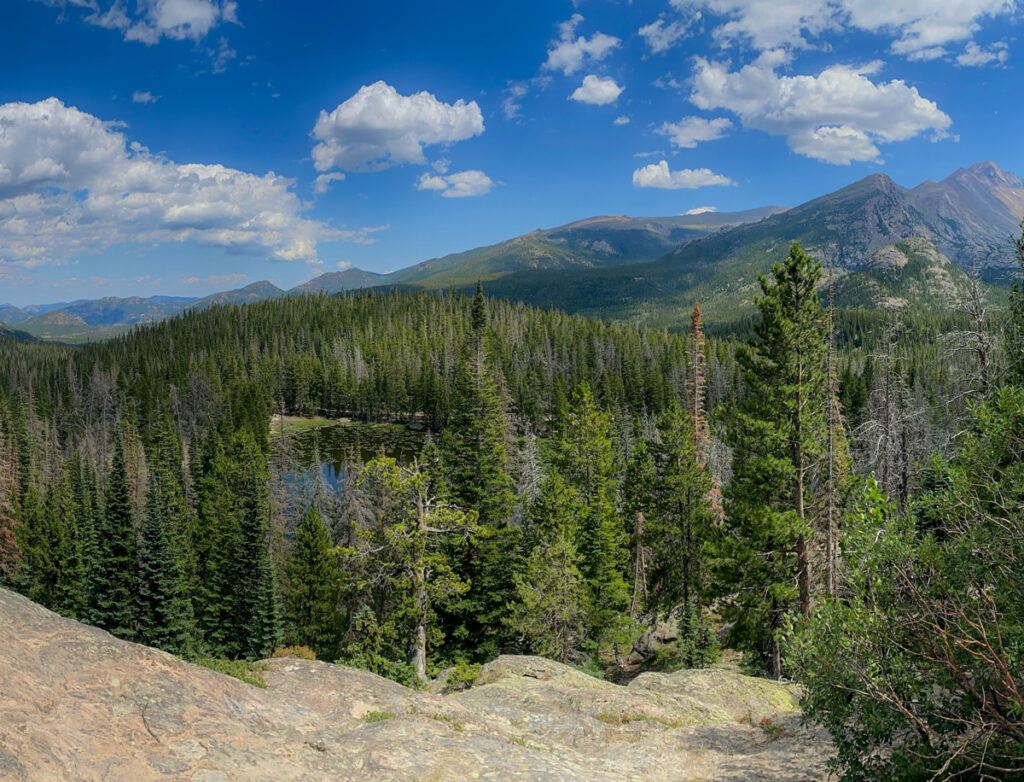
If you continue past Nymph Lake, you’ll merge with Dream Lake Trail, a moderate hike that covers 2.2 miles (including the distance you’ve already traveled from Nymph Lake) and gains an elevation of 450 feet. Outcrops will offer panoramic views of the mountain range, including Hallett Peak and Flattop Mountain. You’ll also be able to spot Nymph Lake below.
As you continue on, you’ll reach Dream Lake, an elongated body of water bordered by a path that switches between dirt steps and a wooden boardwalk.
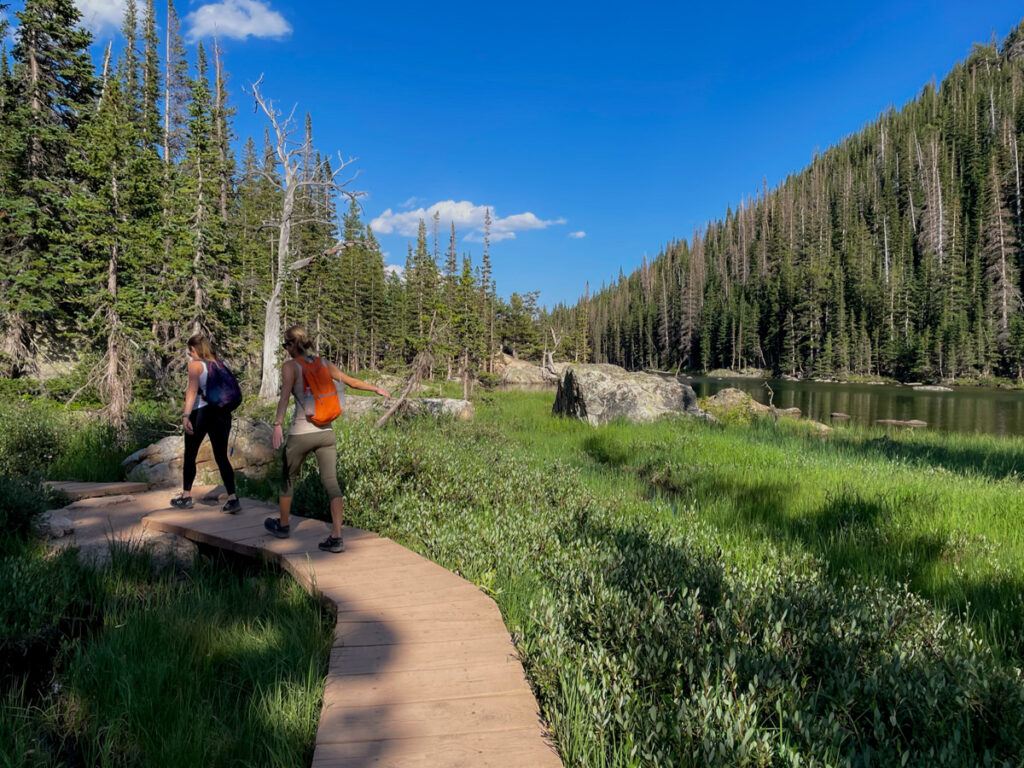
After you pass Dream Lake, the hike will merge into Emerald Lake Trail and end at the eponymous lake, a crystal-clear body of water bordered by the mountains, and a popular picnic spot. Depending on your skill level, you can turn back at any time, as all three trails are connected.
But if you decide to go all the way to Emerald Lake and back, the total hike will round out at 3.2 miles, with an elevation gain of 698 feet.
Lake Haiyaha: moderate to challenging
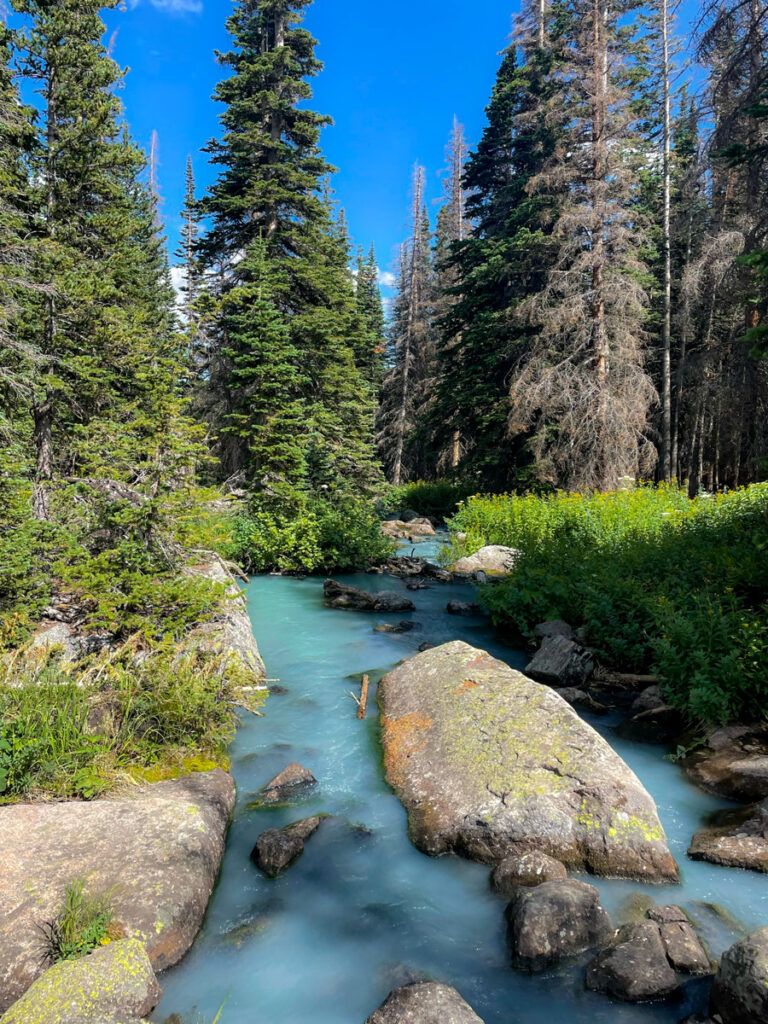
In between Nymph Lake and Dream Lake, a path will split to the left and lead you to Lake Haiyaha Trail. This was by far the most beautiful hike of my trip in Rocky Mountain National Park — and also the most difficult. The four-mile in-and-out trail has an 846-foot elevation gain and weaves through alpine forest and across glacier rivers, the latter having a frosty blue color that will take your breath away — in person, it looks like there’s a layer of smoke hovering over the surface.
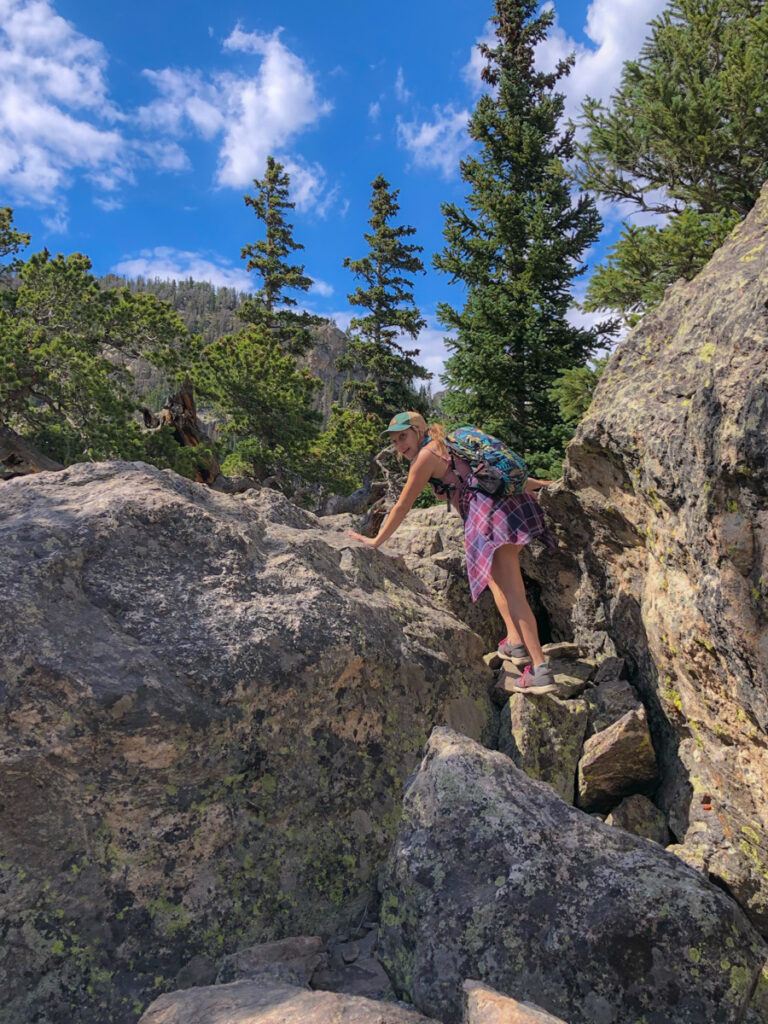
While it’s possible to reach the glacial river (seen above) without too much incline in elevation, reaching the lake is a different story. The hike will end at a wall of boulders, and you must climb over the rocks in order to reach the lake. This makes this hike challenging.
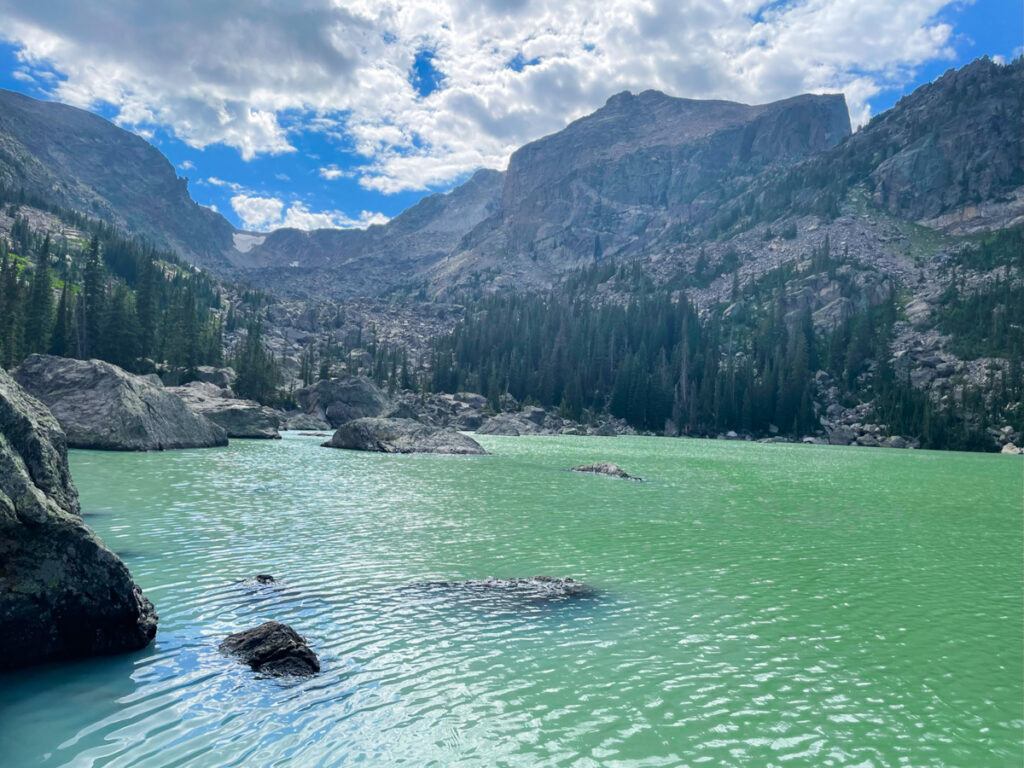
The payoff is worth it, though. Lake Haiyaha is surrounded by glacial boulders and rock formations millions of years old. The water is a kind of turquoise-green I’ve never before seen in nature.
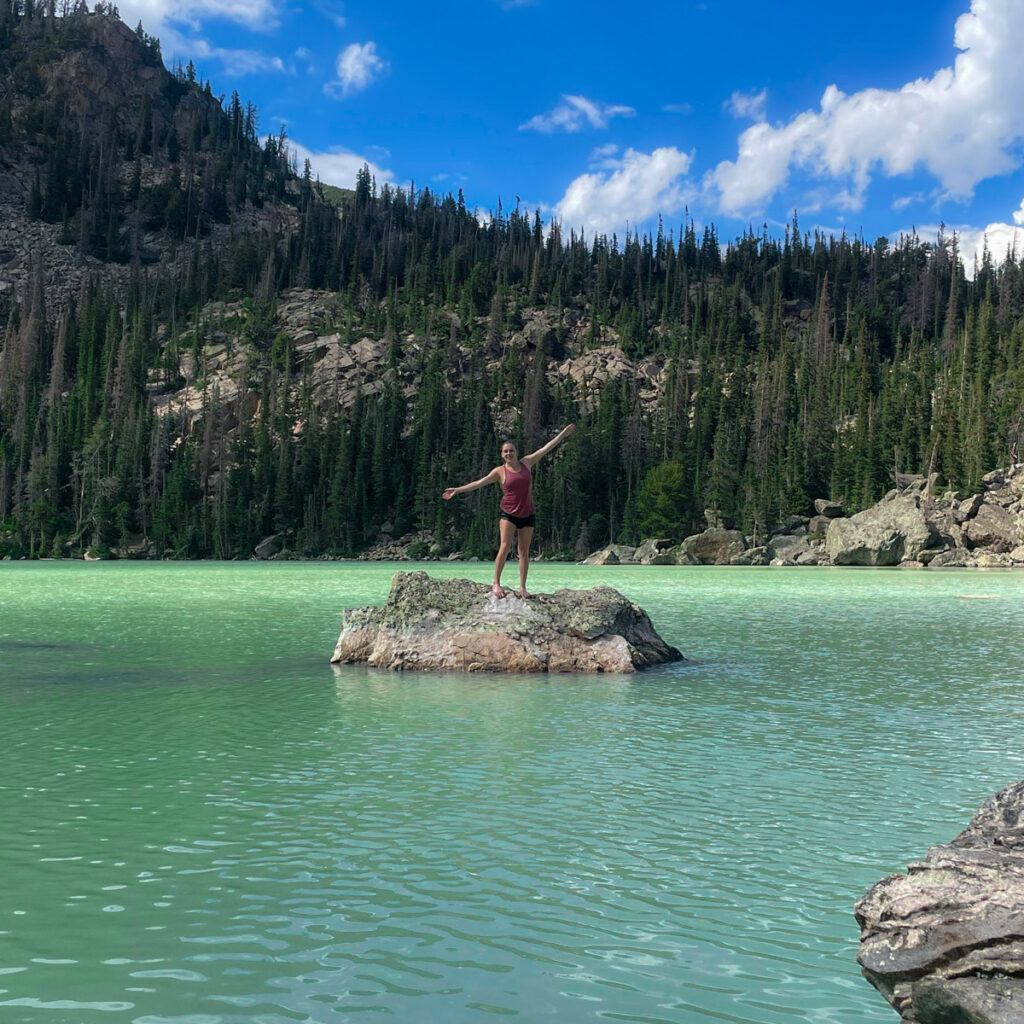
Although it was August, I had brought a sweater with me, as it gets cooler in the shade. Not only did I end up taking that off, but when I reached the lake, I was sweating. I spotted a couple swimmers in the lake and couldn’t resist jumping in for a dip. Let me put it this way: A glacial lake, even in direct sunlight, is another type of cold. Not only will it literally take your breath away, but your bones will feel frozen before you get back on shore. If you decide to take the leap, keep in mind that the ground is rocky and far from a sandy beach. I wish I’d brought water shoes; I ended up just keeping my feet off the ground. But, 100% worth it!
Wildlife
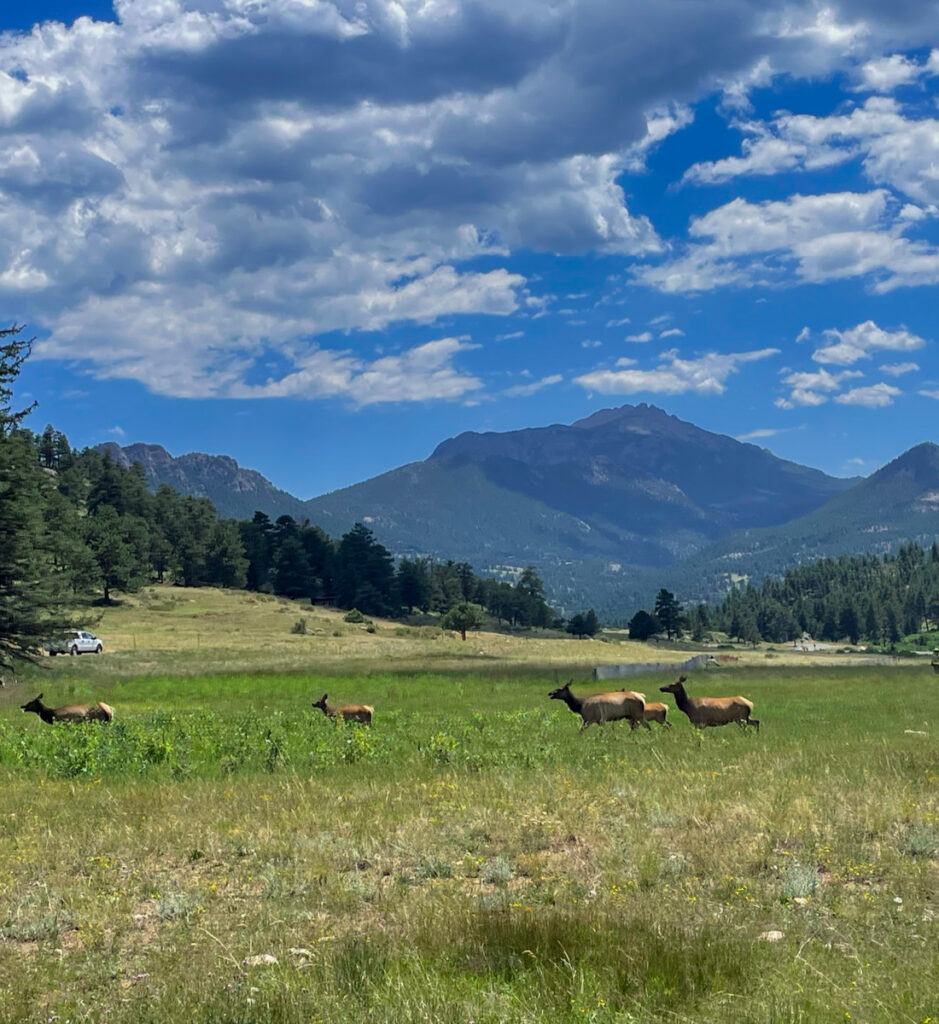
Rocky Mountain National Park is home to a wide variety of wildlife, including elk, bighorn sheep, and moose. Mountain lions and black bears also roam here but are more rare. As in any national park, you’ll increase your chances of spotting animals if you arrive around dawn or sunset. I was fortunate to have a herd of elk pass by my car within 15 minutes of arriving.
Where to Stay
Depending on which direction you come from — east or west — you’ll most likely want to stay in Grand Lake or Estes Park. Both quaint mountain towns are nestled at the base of the Rockies and offer a wide variety of options for lodging and easy, quick access to the park.
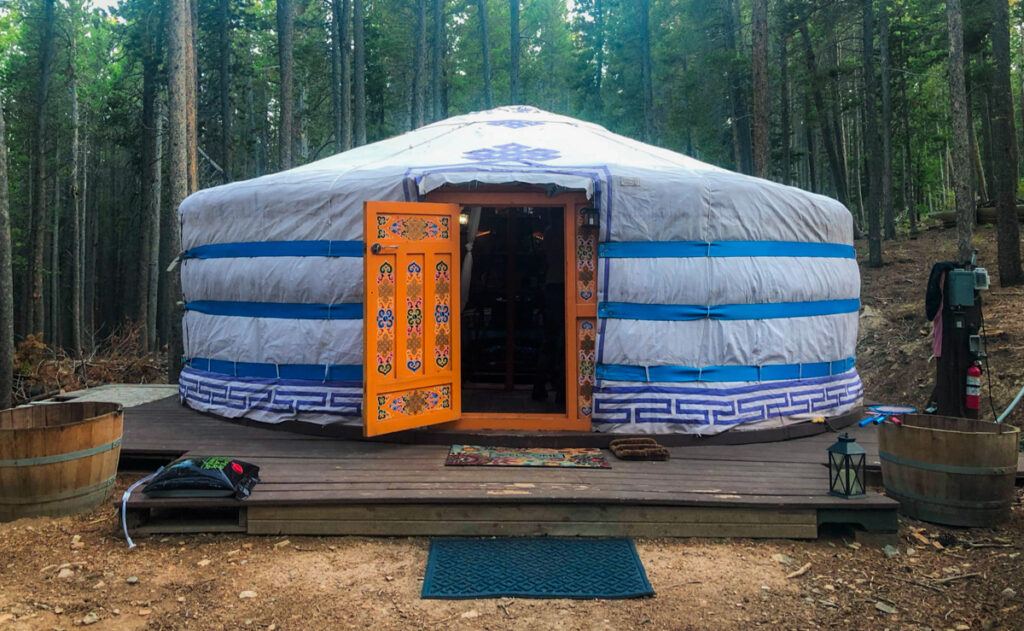
Where you stay will depend on the experience you’re looking for. On my first night in Estes Park, I booked a yurt through Airbnb, an intimate experience that took me into the forest at the edge of the national park.
Estes Park
Budget: Estes Park Adventure Hostel
Cost: $90 a night
Midrange: Mongolian Mountain Yurt
Cost: $180 a night
Luxury: Estes Park Condos
Cost: $430 a night
Grand Lake
Budget: Elk Creek Campground
Cost: $16-$22 a night
Midrange: Grand Lake Lodge
Cost: $159 a night
Luxury: Romantic Gem
Cost: $506 a night
Camping
Camping inside Rocky Mountain National Park lets visitors wake up surrounded by the wilderness. Campgrounds start at $35 per night during the summer, but make sure you reserve one of the limited spots in advance. And keep in mind that not all campgrounds are open year round.
Best Time to Visit
Rocky Mountain National Park is busiest in the summer months, and although I went in August, I still found that traffic wasn’t out of control. Reservations are timed to keep the park from getting overwhelmed with guests, so you’ll need to purchase a permit to enter.
Each season offers something a little different, so plan your trip based on what you hope to experience:
Spring (April–May) is the best time for wildlife viewing, as this is when temperatures warm up and animals give birth or come out of hibernation. Because snow is still melting, the unpredictable weather may close off some roads and facilities.
Summer (June–August) offers the longest hours of daylight, making this the best time for outdoor activities like camping and hiking.
When the leaves start to change, fall (September–October) means cooler temperatures and fewer crowds.
During winter (November–March), most of the park will have both road and facility closures, so be sure to check before you book! Although it will be frigid outside, Rocky Mountain is considered by many one of the best to visit during the coldest months. This time is great for winter activities like snowshoeing, cross-country skiing, and ice fishing.
What to Bring
Regardless of when you visit, make sure you pack for the weather. Even in summer, temperatures can drop rapidly, and having layers, like puffer jackets, will come in handy. I swear by this jacket and bring it on every trip, no matter where I’m going. Not only is it lightweight and easy to pack, but it keeps you much warmer than you might think.
If you plan to hike, a good set of boots, like Merrell hiking shoes, will keep your feet comfortable during those long days outside. Don’t forget to bring a rain jacket and daypack on your hikes, too.
If your goal is to spot wildlife, binoculars will come in handy. And remember, this is a road trip, and these roads curve around steep mountains. If you get even the mild car sickness, you’ll definitely need some Dramamine for the adventure.
Regardless of the duration of your stay, Rocky Mountain offers a variety of things to do and see. You won’t be disappointed.
What would you want to experience in Rocky Mountain National Park?
Leave a Reply