Time check: 6am. I looked up from our glamping tent in Paro, and there it was, the most defining image of Bhutan, The Tiger’s Nest, looking right back at me from above. It was our second-to-last day in the country, and we were getting ready to hike to the monastery, the cherry on top of an unforgettable trip.
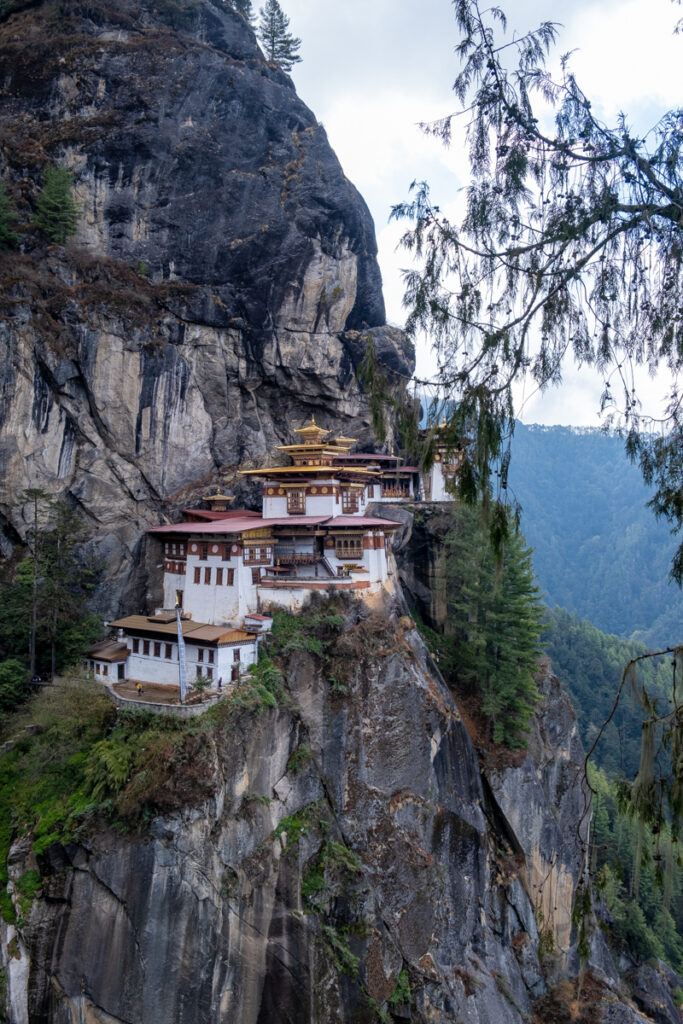
We had been in Bhutan for a week by then and had completed three hikes, so we had acclimated to the altitude.
Here’s everything we’ve learned from our hike, plus some tips to help you prepare yours:
About the Tiger’s Nest
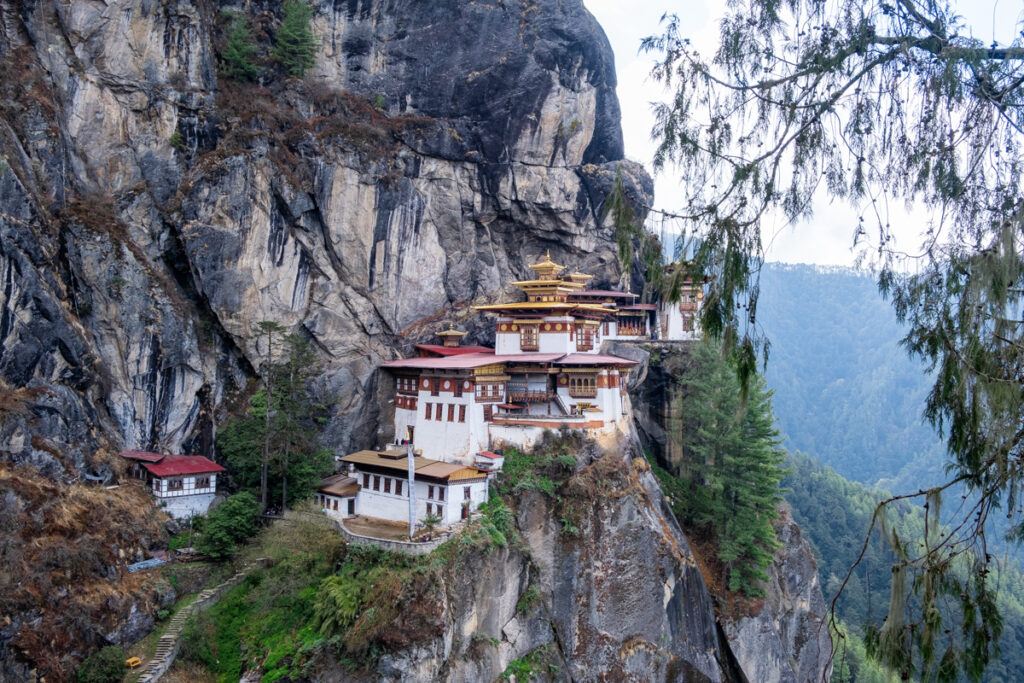
Sitting precariously 800 meters (over 2,600 feet) above the valley, the Tiger’s Nest (officially known as Paro Takstang) is truly a sight to behold, and even more majestic up close.
It is believed that Guru Rinpoche arrived from Tibet at the sacred site on a tigress’s back, and meditated inside the mountainous cave in eight different manifestations. Through Guru Rinpoche, Buddhism was then introduced to Bhutan. The monastery was constructed around the cave in 1692, and has since become one of the most iconic and sacred Buddhist sites in the world.
Unfortunately, it caught fire in 1998. All important paintings and manuscripts and most statues were destroyed. The monastery was rebuilt, however, and now consists of four temples. It also still functions as a monastery despite the high volume of daily visitors.
How to Hike to the Tiger’s Nest
We decided to have an early start and begin our hike at 7am; our hotel kindly packed breakfast for us to take along. Our tour guide and driver picked us up at our accommodation at around 6:30am, and the drive to the trailhead took about 20 minutes. We were one of the first people to arrive that day.
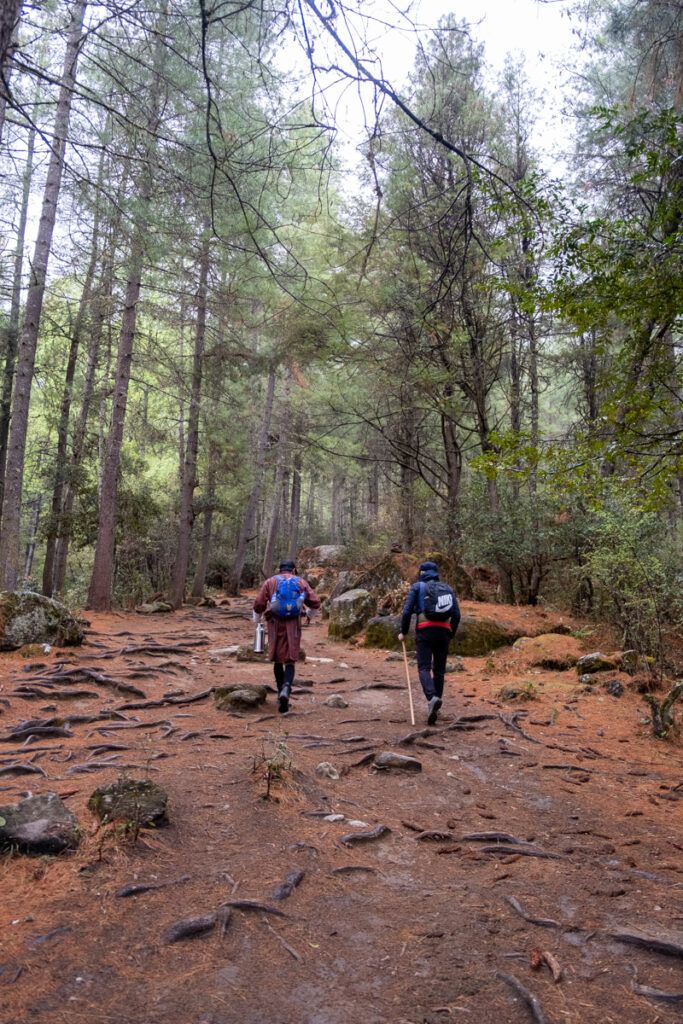
At the trailhead (which is also the carpark), you will find a few stalls selling hiking poles and souvenirs, as well as mules for rent. That’s right — if you do not feeling like hiking the whole way, you may hire a mule to carry you for a part of the trip.
The trail is upward all the way on a mostly wide, well-defined trail. During the COVID lockdown, tour guides and drivers were hired by the government to build steps on the trail, which makes both ascending and descending slightly easier. Since we had an early start, we had most of the hike up all to ourselves.
Go at your own pace, take plenty of small breaks, and don’t forget to enjoy the view! We loved watching the birds and admiring the stunning, mystical blue-pine forest. You will also see the monastery throughout the first half of your hike.
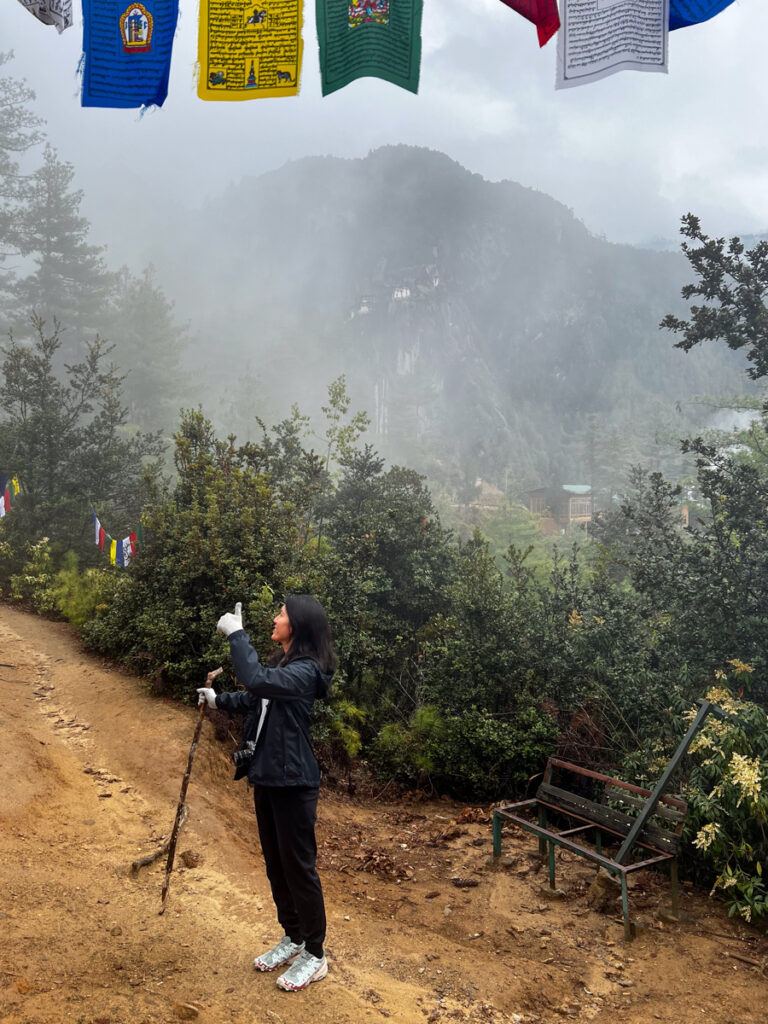
After hiking for about 1.5 hours, we arrived at an opening where colorful prayers flags hung everywhere, around two big spinning prayer wheels. If you hired a mule, this is where you will get off and continue the rest of the hike on foot.
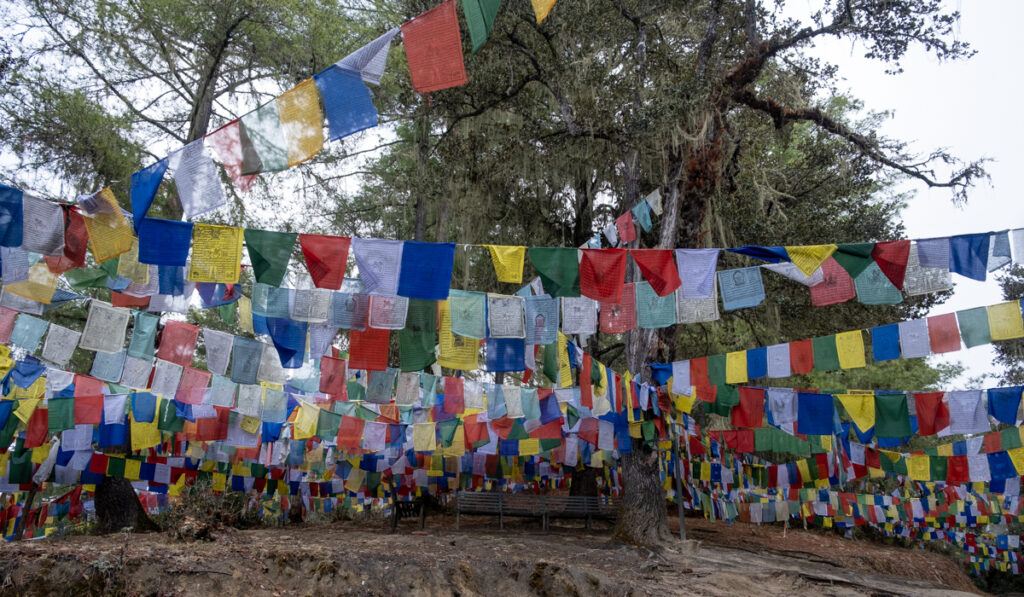
From there, it’s a short walk to Takstang Cafeteria, which marks the end of the first half of your hike. This is also where you can take a snack and washroom break. It rained the night before, and the Tiger’s Nest was blocked by the low-hanging clouds at that point, which worried me, but our guide was certain that the sky would clear up soon.
The second half of the hike is less strenuous, but don’t make the same mistake as I did! I walked as quickly as I could, as I was so excited to be reaching the monastery soon. This resulted in light-headedness, and I was forced to slow down. Remember, this is not a race, and the monastery will be there no matter your time of arrival!
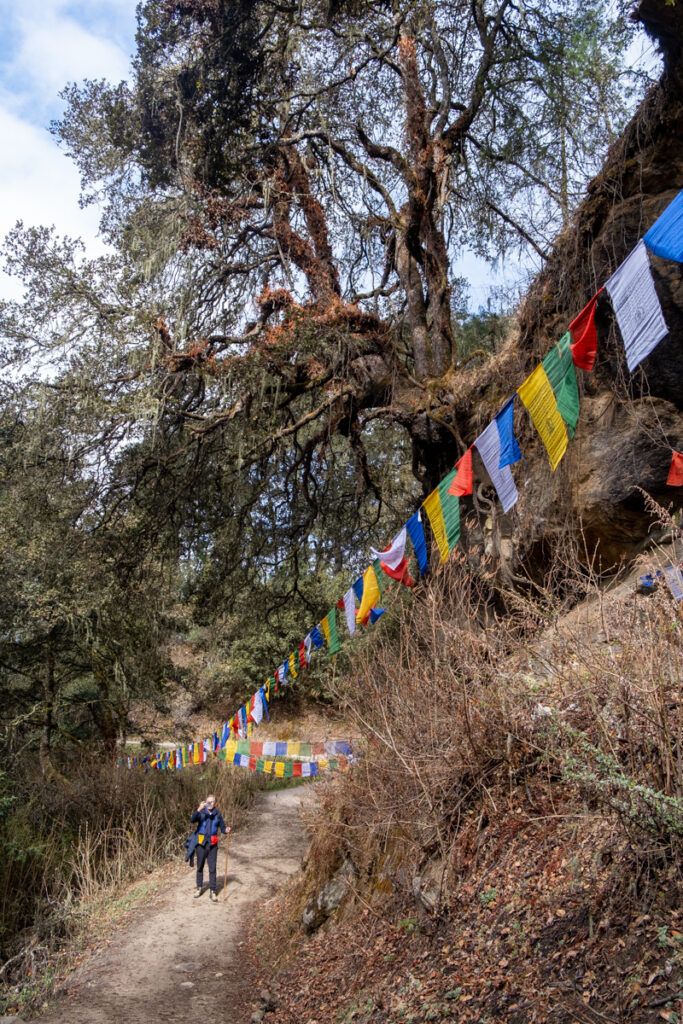
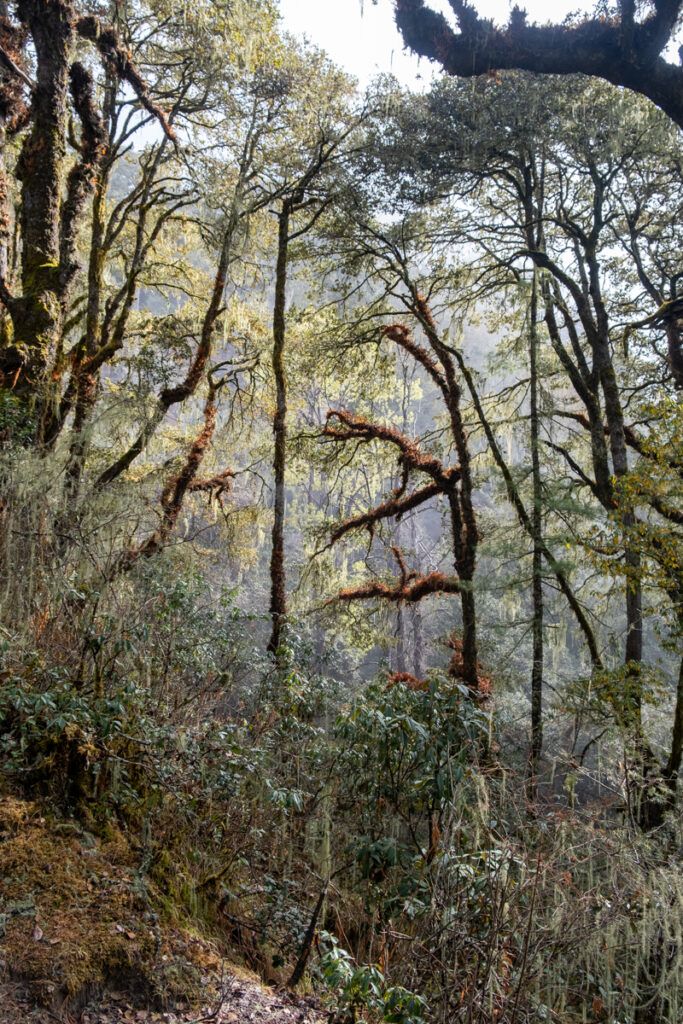
After about an hour, we arrived at the popular photo spot, where you can get a full view of the Tiger’s Nest. If you plan on starting your hike early like we did, save the photography for later, when you return from the monastery. We arrived at the photo spot at around 9:30am, and while the clouds had cleared out, the monastery was still very much obscured.
The hardest part of the hike is the very last 700 steps. From the photo spot, you will take the stone staircase down to a bridge, and make the final, strenuous steps up to the monastery. I had to take a break every 10 steps or so! Once again, remember to take your time and go as slowly as you need to.
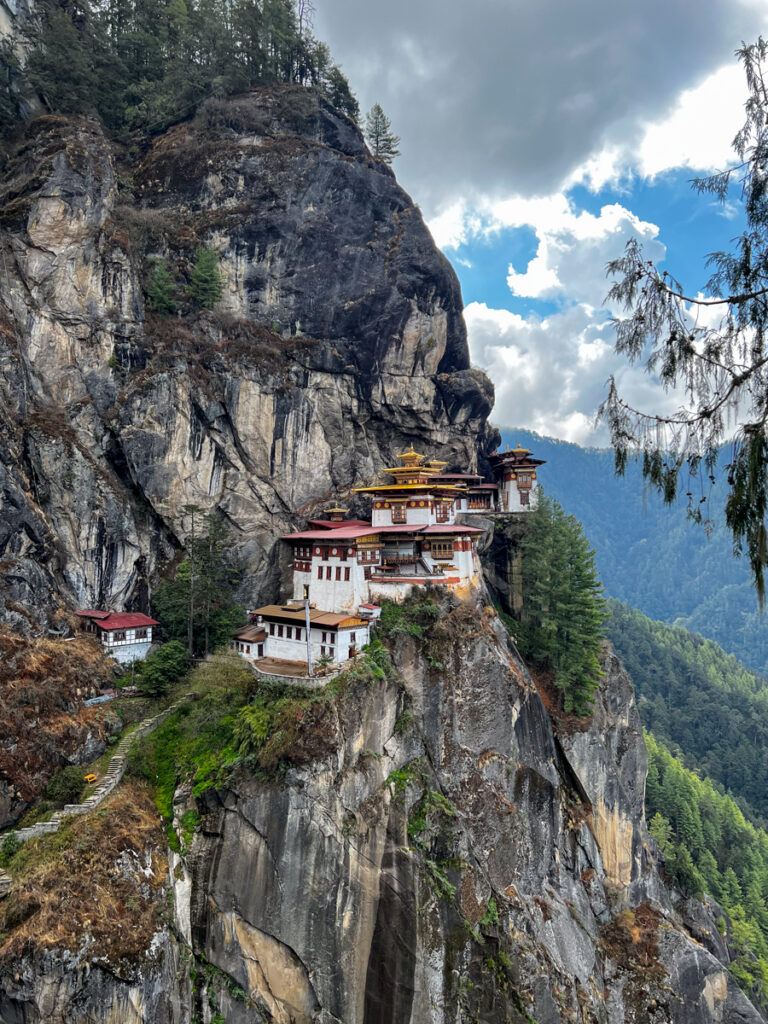
When you have officially arrived at the monastery, you will store your hat, shoes, backpack, photography equipment, and phone in a locker. Your guide will then take you on a tour around the monastery. It takes about an hour, and you are welcome to make offerings and meditate.
You will make your hike back on the same trail. More and more people started to show up around 10am, and we were so glad that we chose to do the hike in the early hours.
How to Prepare for Your Tiger’s Nest Hike
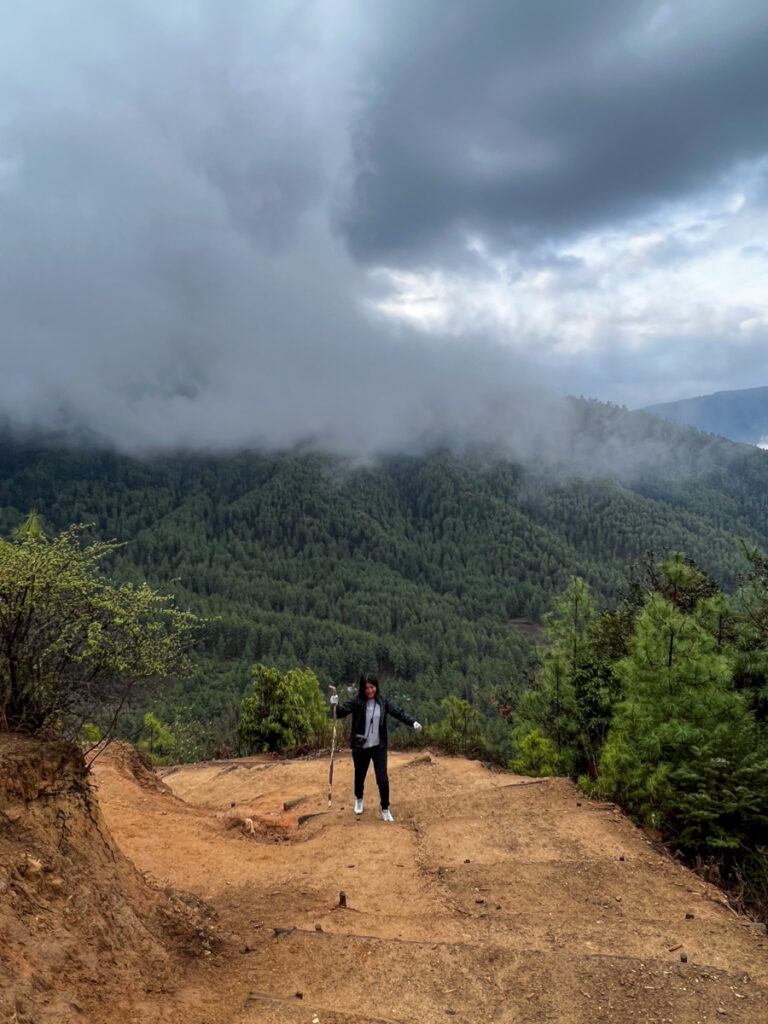
When planning our Bhutan itinerary, our tour operator recommended that we keep the Tiger’s Nest for last, and organized several hikes throughout before that in order to help us acclimate to the altitude. (We met two travelers who did the hike on their second day on the trip and found it very challenging.) In any case, if you are not used to hiking at such an altitude, you may want to bring along some altitude sickness medication.
I am physically fit and hike occasionally. On our hike, I felt lightheaded and out of breath at some points, but that was about it. The hike was otherwise very manageable, and we saw people of all ages making their way up on our way back down.
If you plan on starting your hike early like we did, definitely dress in layers, as it gets pretty cold in the morning. Here’s what I wore on our hike:
- sports bra
- T-shirt
- long-sleeved shirt
- windbreaker
- hiking pants
- thick socks (essential, as you have to remove your shoes to enter the monastery, and the stone floors get very cold)
- hiking shoes with good threads (we love Salomon and Merrell)
- hat
- sunglasses
Our guide kindly prepared walking sticks for us, which was very much appreciated. During our descent, the sun was on full blast, and I was more than happy to remove the windbreaker and long-sleeved shirt. (On that note, please remember that you are visiting a sacred site and are required to dress modestly. Your shoulders and knees should be covered at all times.)
-READ NEXT-
Best Time to Visit the Tiger’s Nest
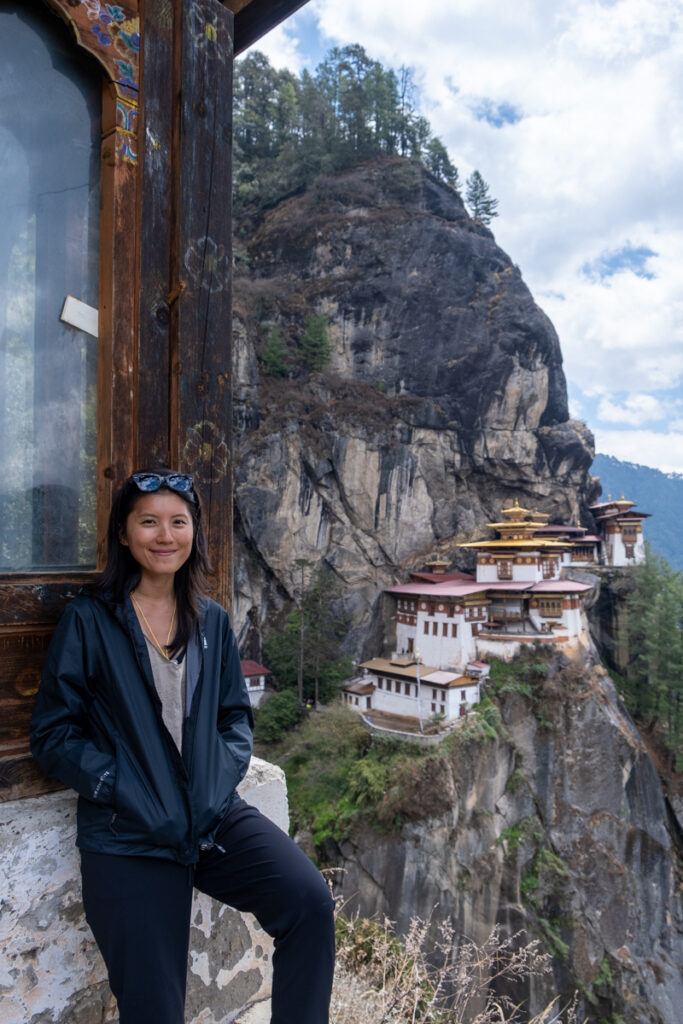
The best months to visit Bhutan (and therefore, the Tiger’s Nest) are April and May and September to November. We hiked to the Tiger’s Nest in late April. It rained the night before our hike, but the trail remained dry, and we had a clear, beautiful day on the day of our hike (after the clouds dissipated).
Where to Stay in Paro
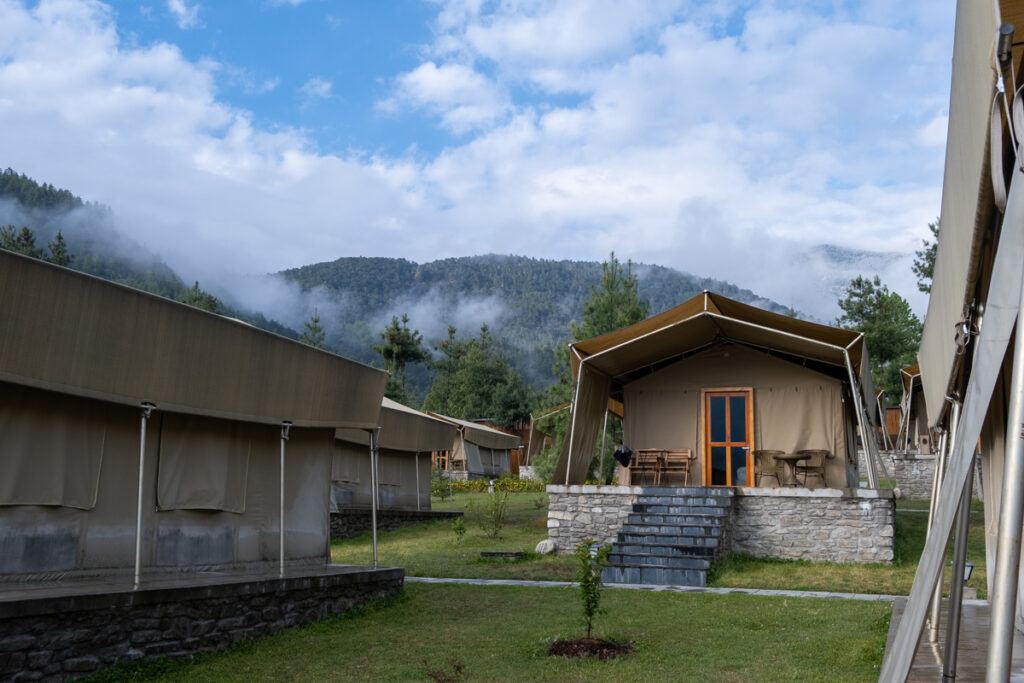
We stayed at Tiger’s Nest Camp in Paro, which is only a 20-minute drive from the trailhead. Every tent at the property has a direct view of the monastery. After we checked into our glamping tent, I spent some time sitting on the patio, looking at the monastery and feeling motivated for the hike. The same view was also the perfect goodbye for our trip — I will always remember leaving the camp feeling content and accomplished. The Tiger’s Nest was one of the most unforgettable hikes I’ve ever done.
If you are visiting the country soon, be sure to check out the rest of our Bhutan travel guides:
GG says
Thanks for the great advice about preparing for the altitude and how to organize the trip (with some personal experience to relate!) This was a heck of a way to end a great trip and spiritual experience. So happy the clouds broke for you all. I am glad they were able to restore the monastery, did not realize about the fire. Enjoyed the whole Bhutan experience and series here in BMTM. Thanks for sharing.
Amanda says
These are some practical tips, and are very appreciated. It might be a few years before my feet can handle the hike, but you’ve made it feel attainable to one day see it!